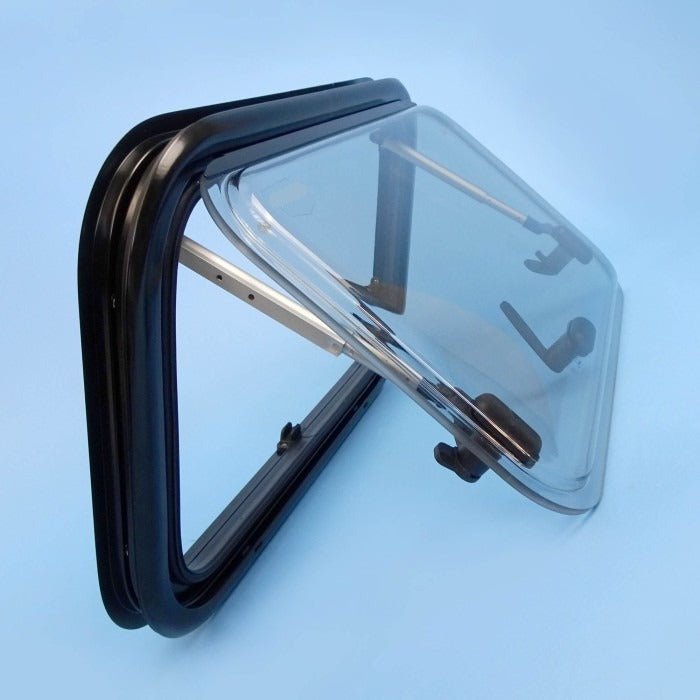

Your Motorhome window (Push window, sliding or fixed) is damaged? It may be necessary to replace it entirely to ensure waterproofing, brightness, and comfort in your Motorhome. Here is a step-by-step guide to installing a new Motorhome or Campervan window safely, even when cutting the sheet metal.
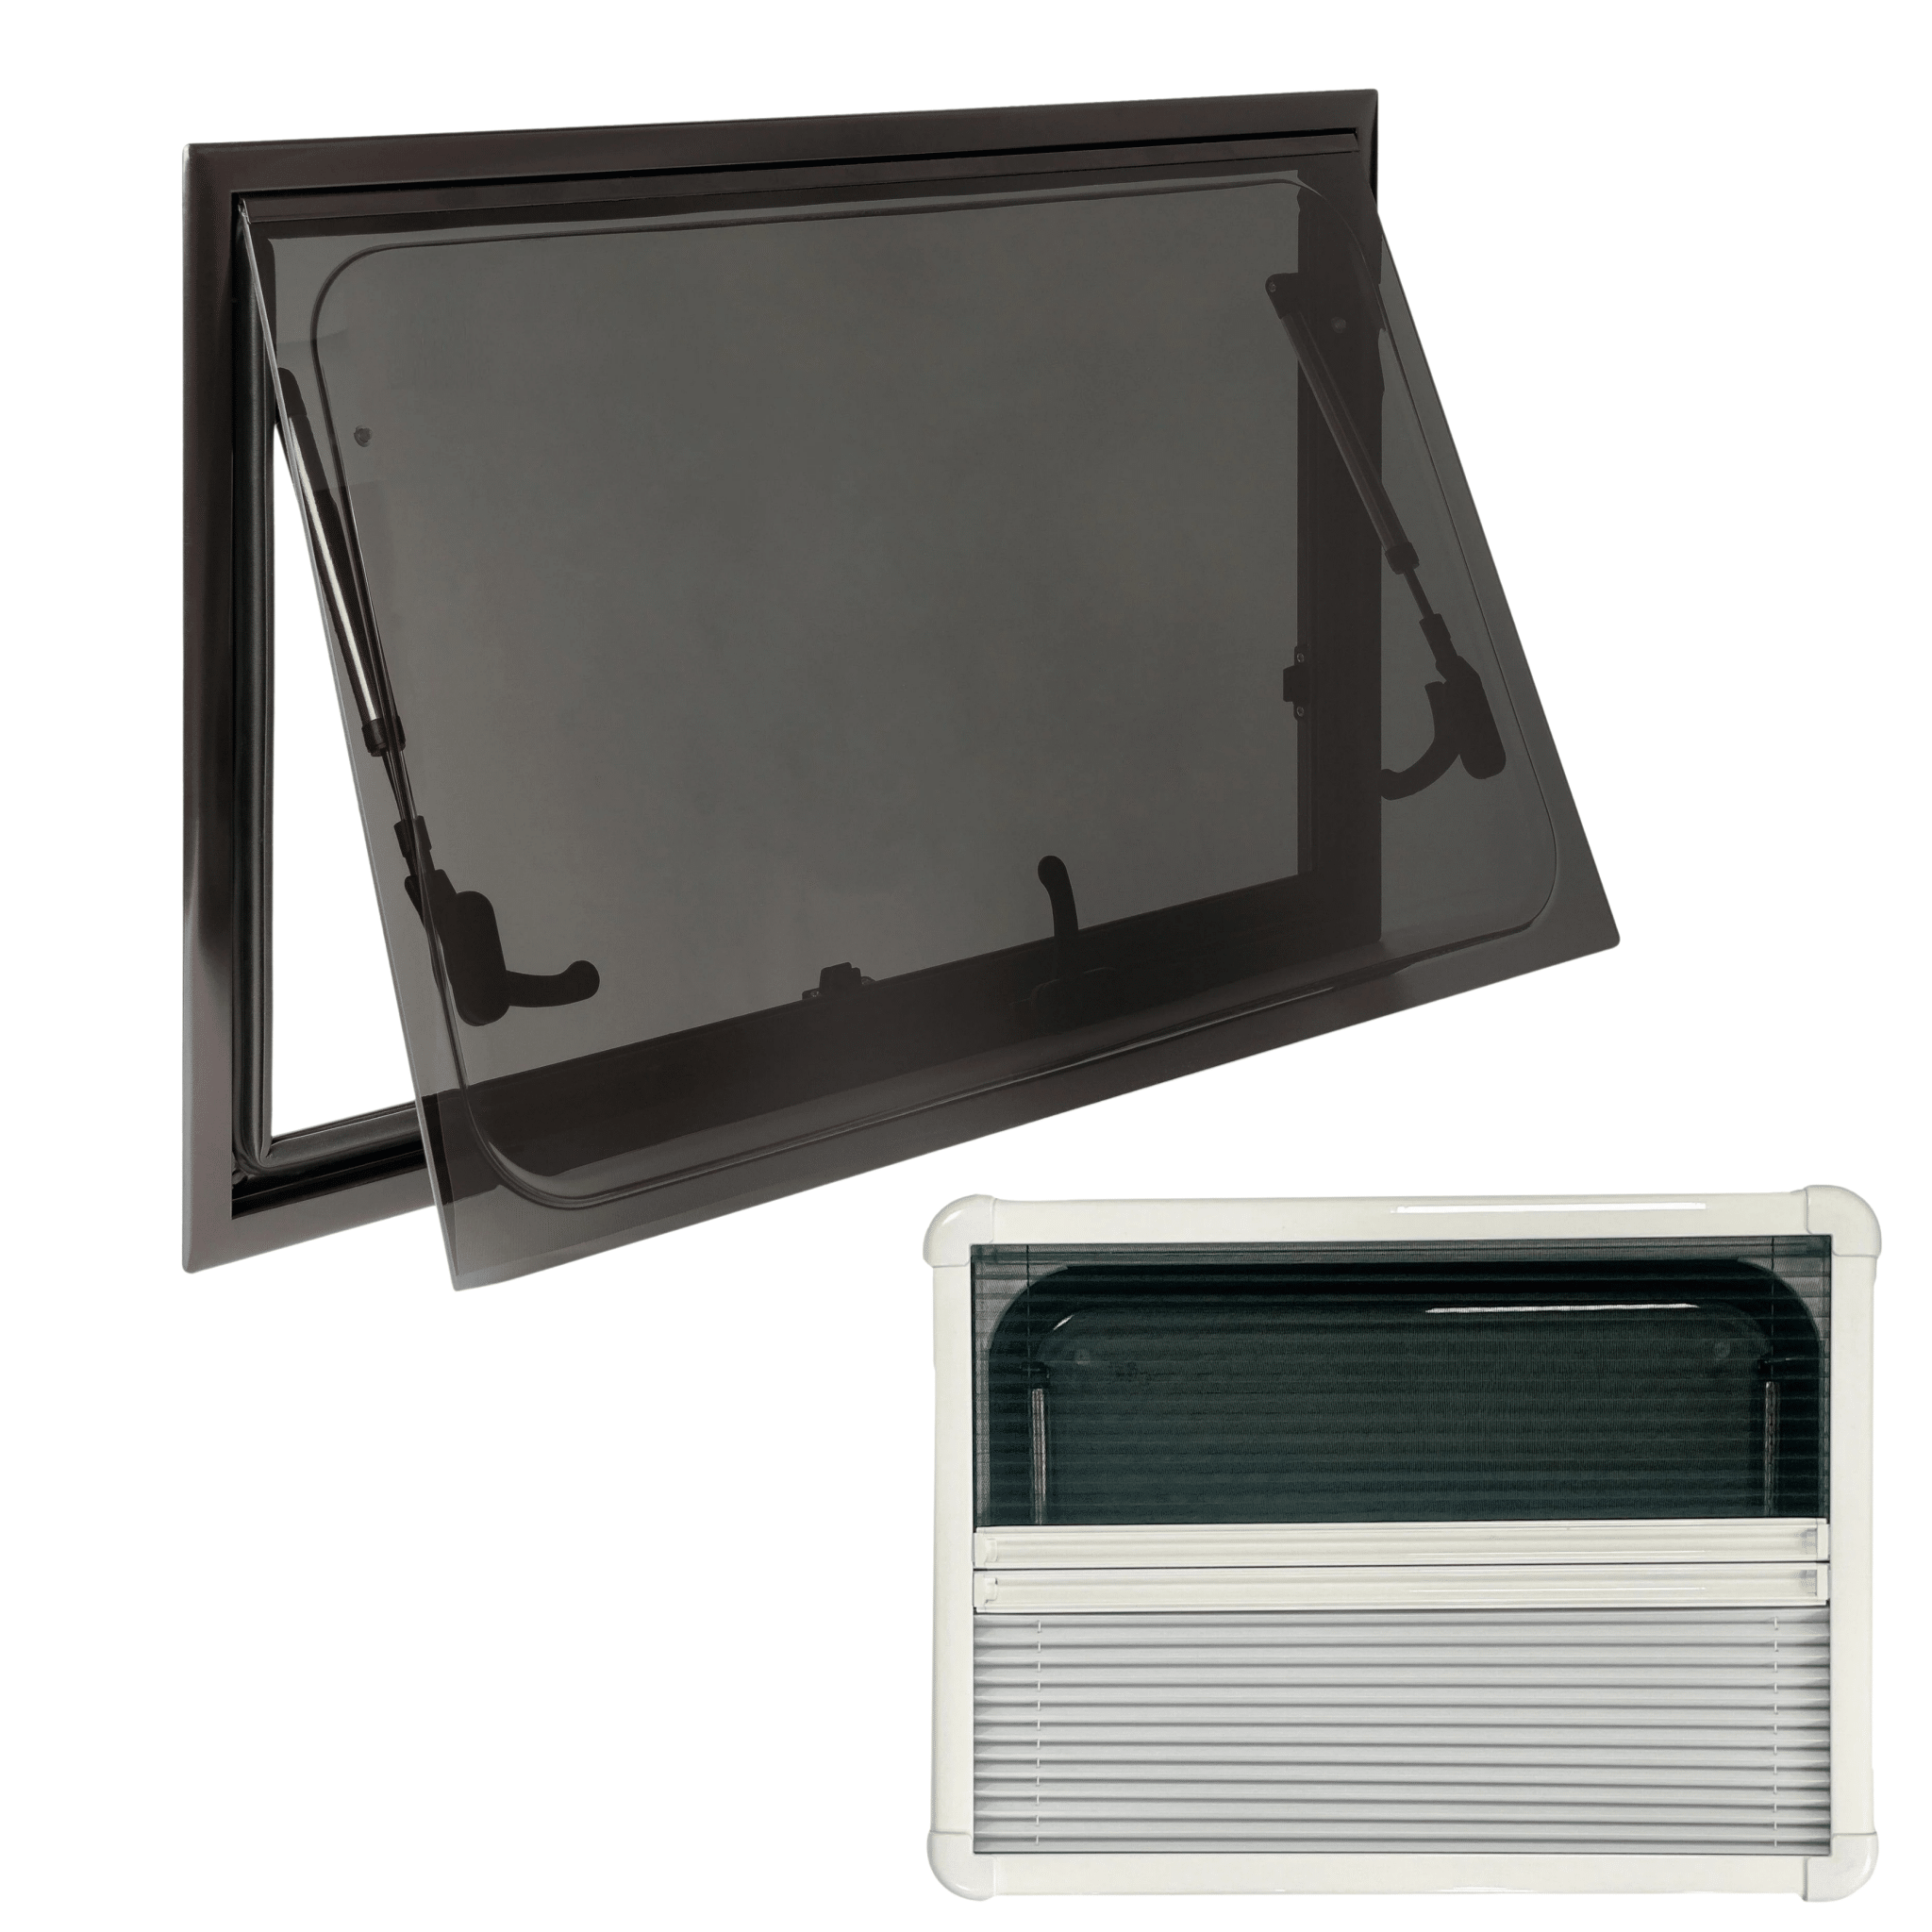
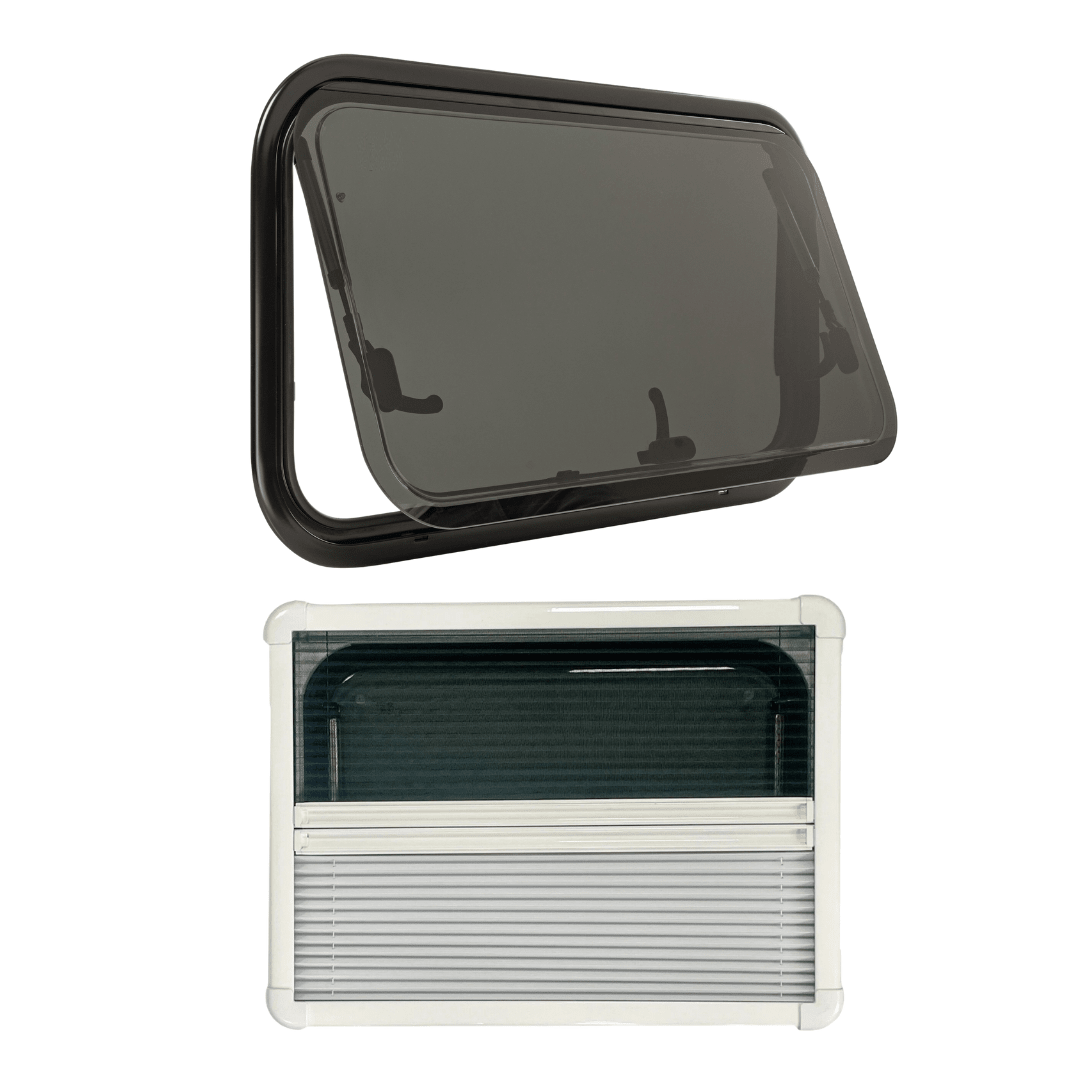
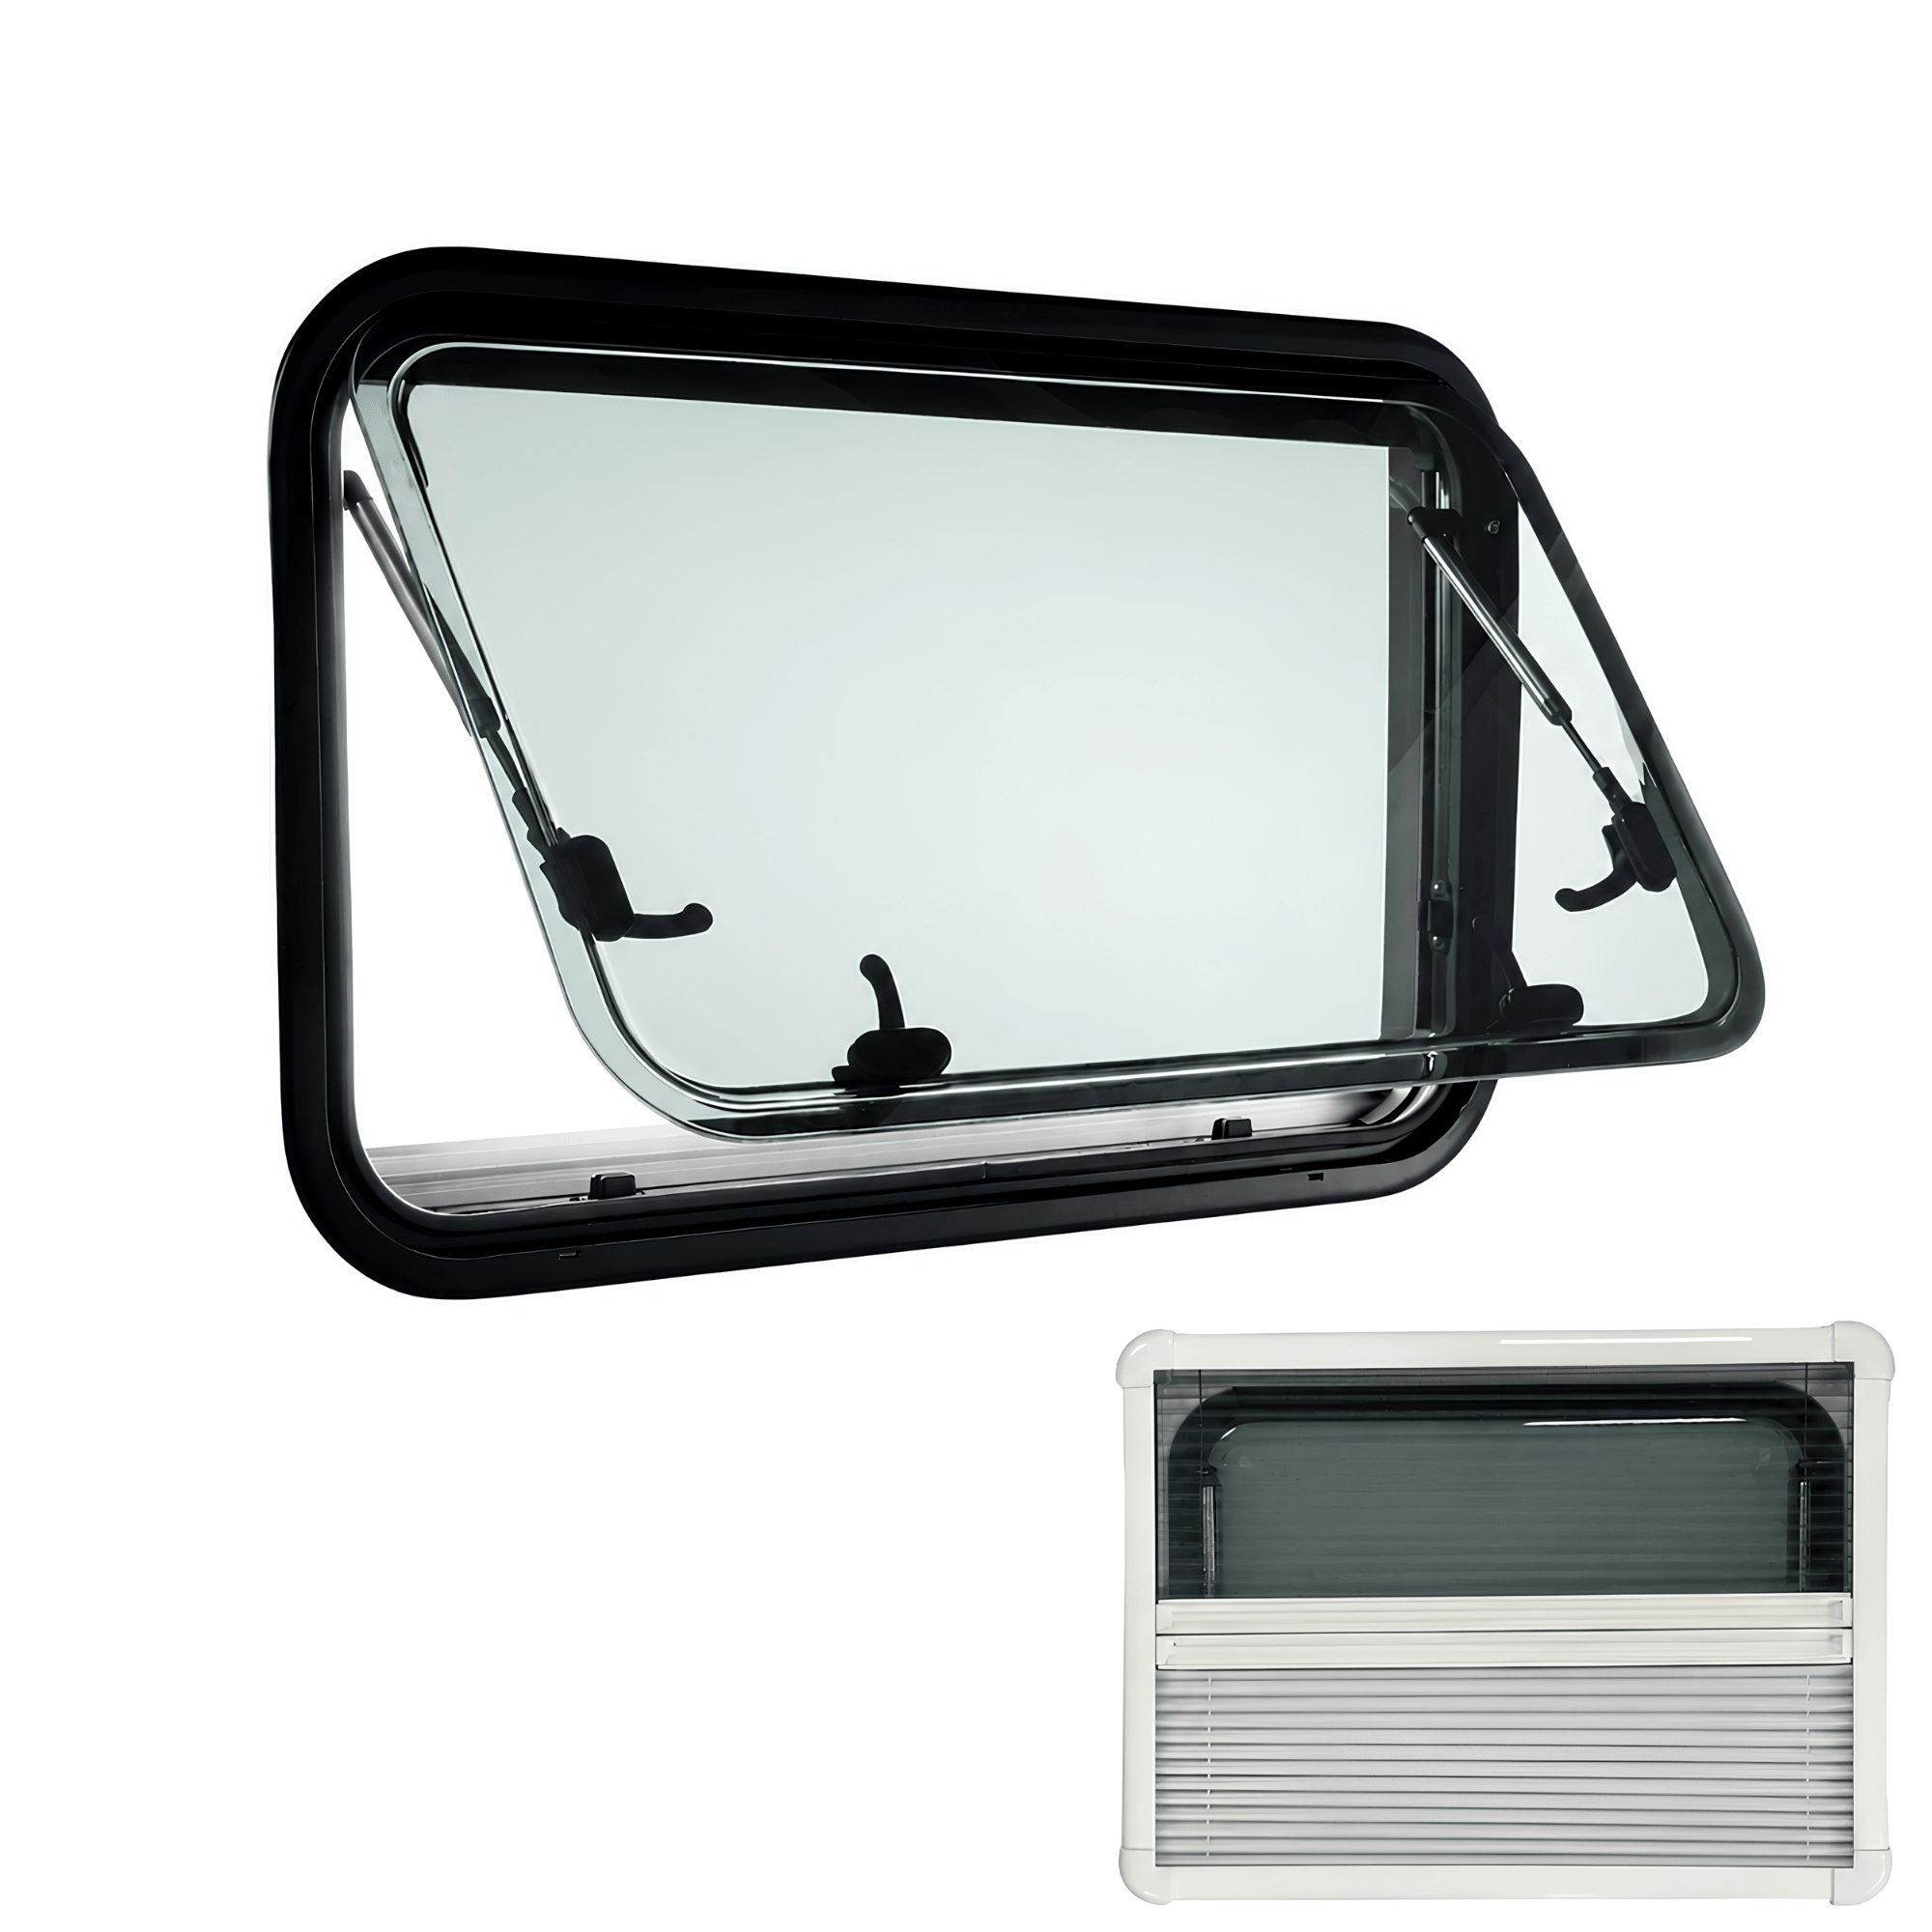
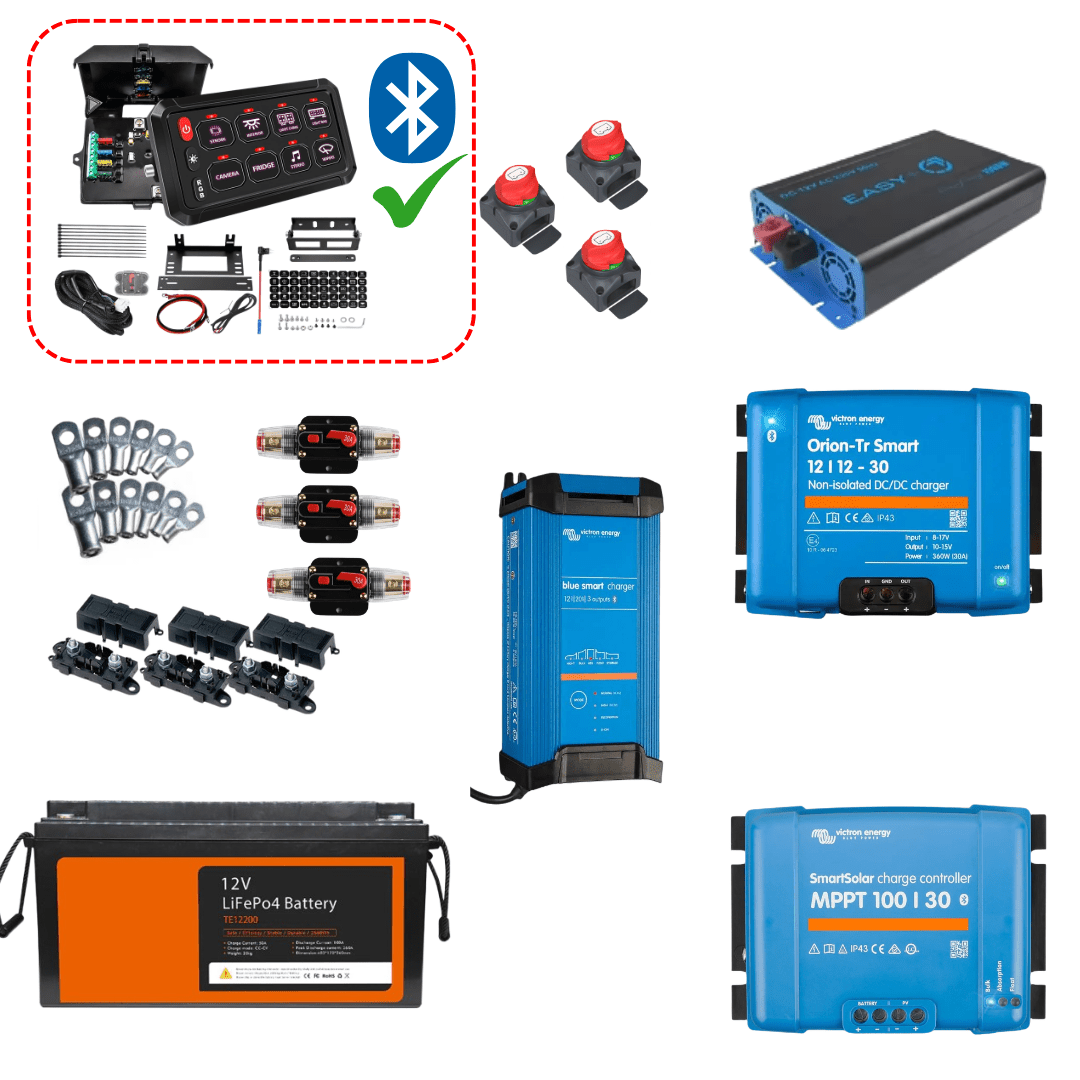
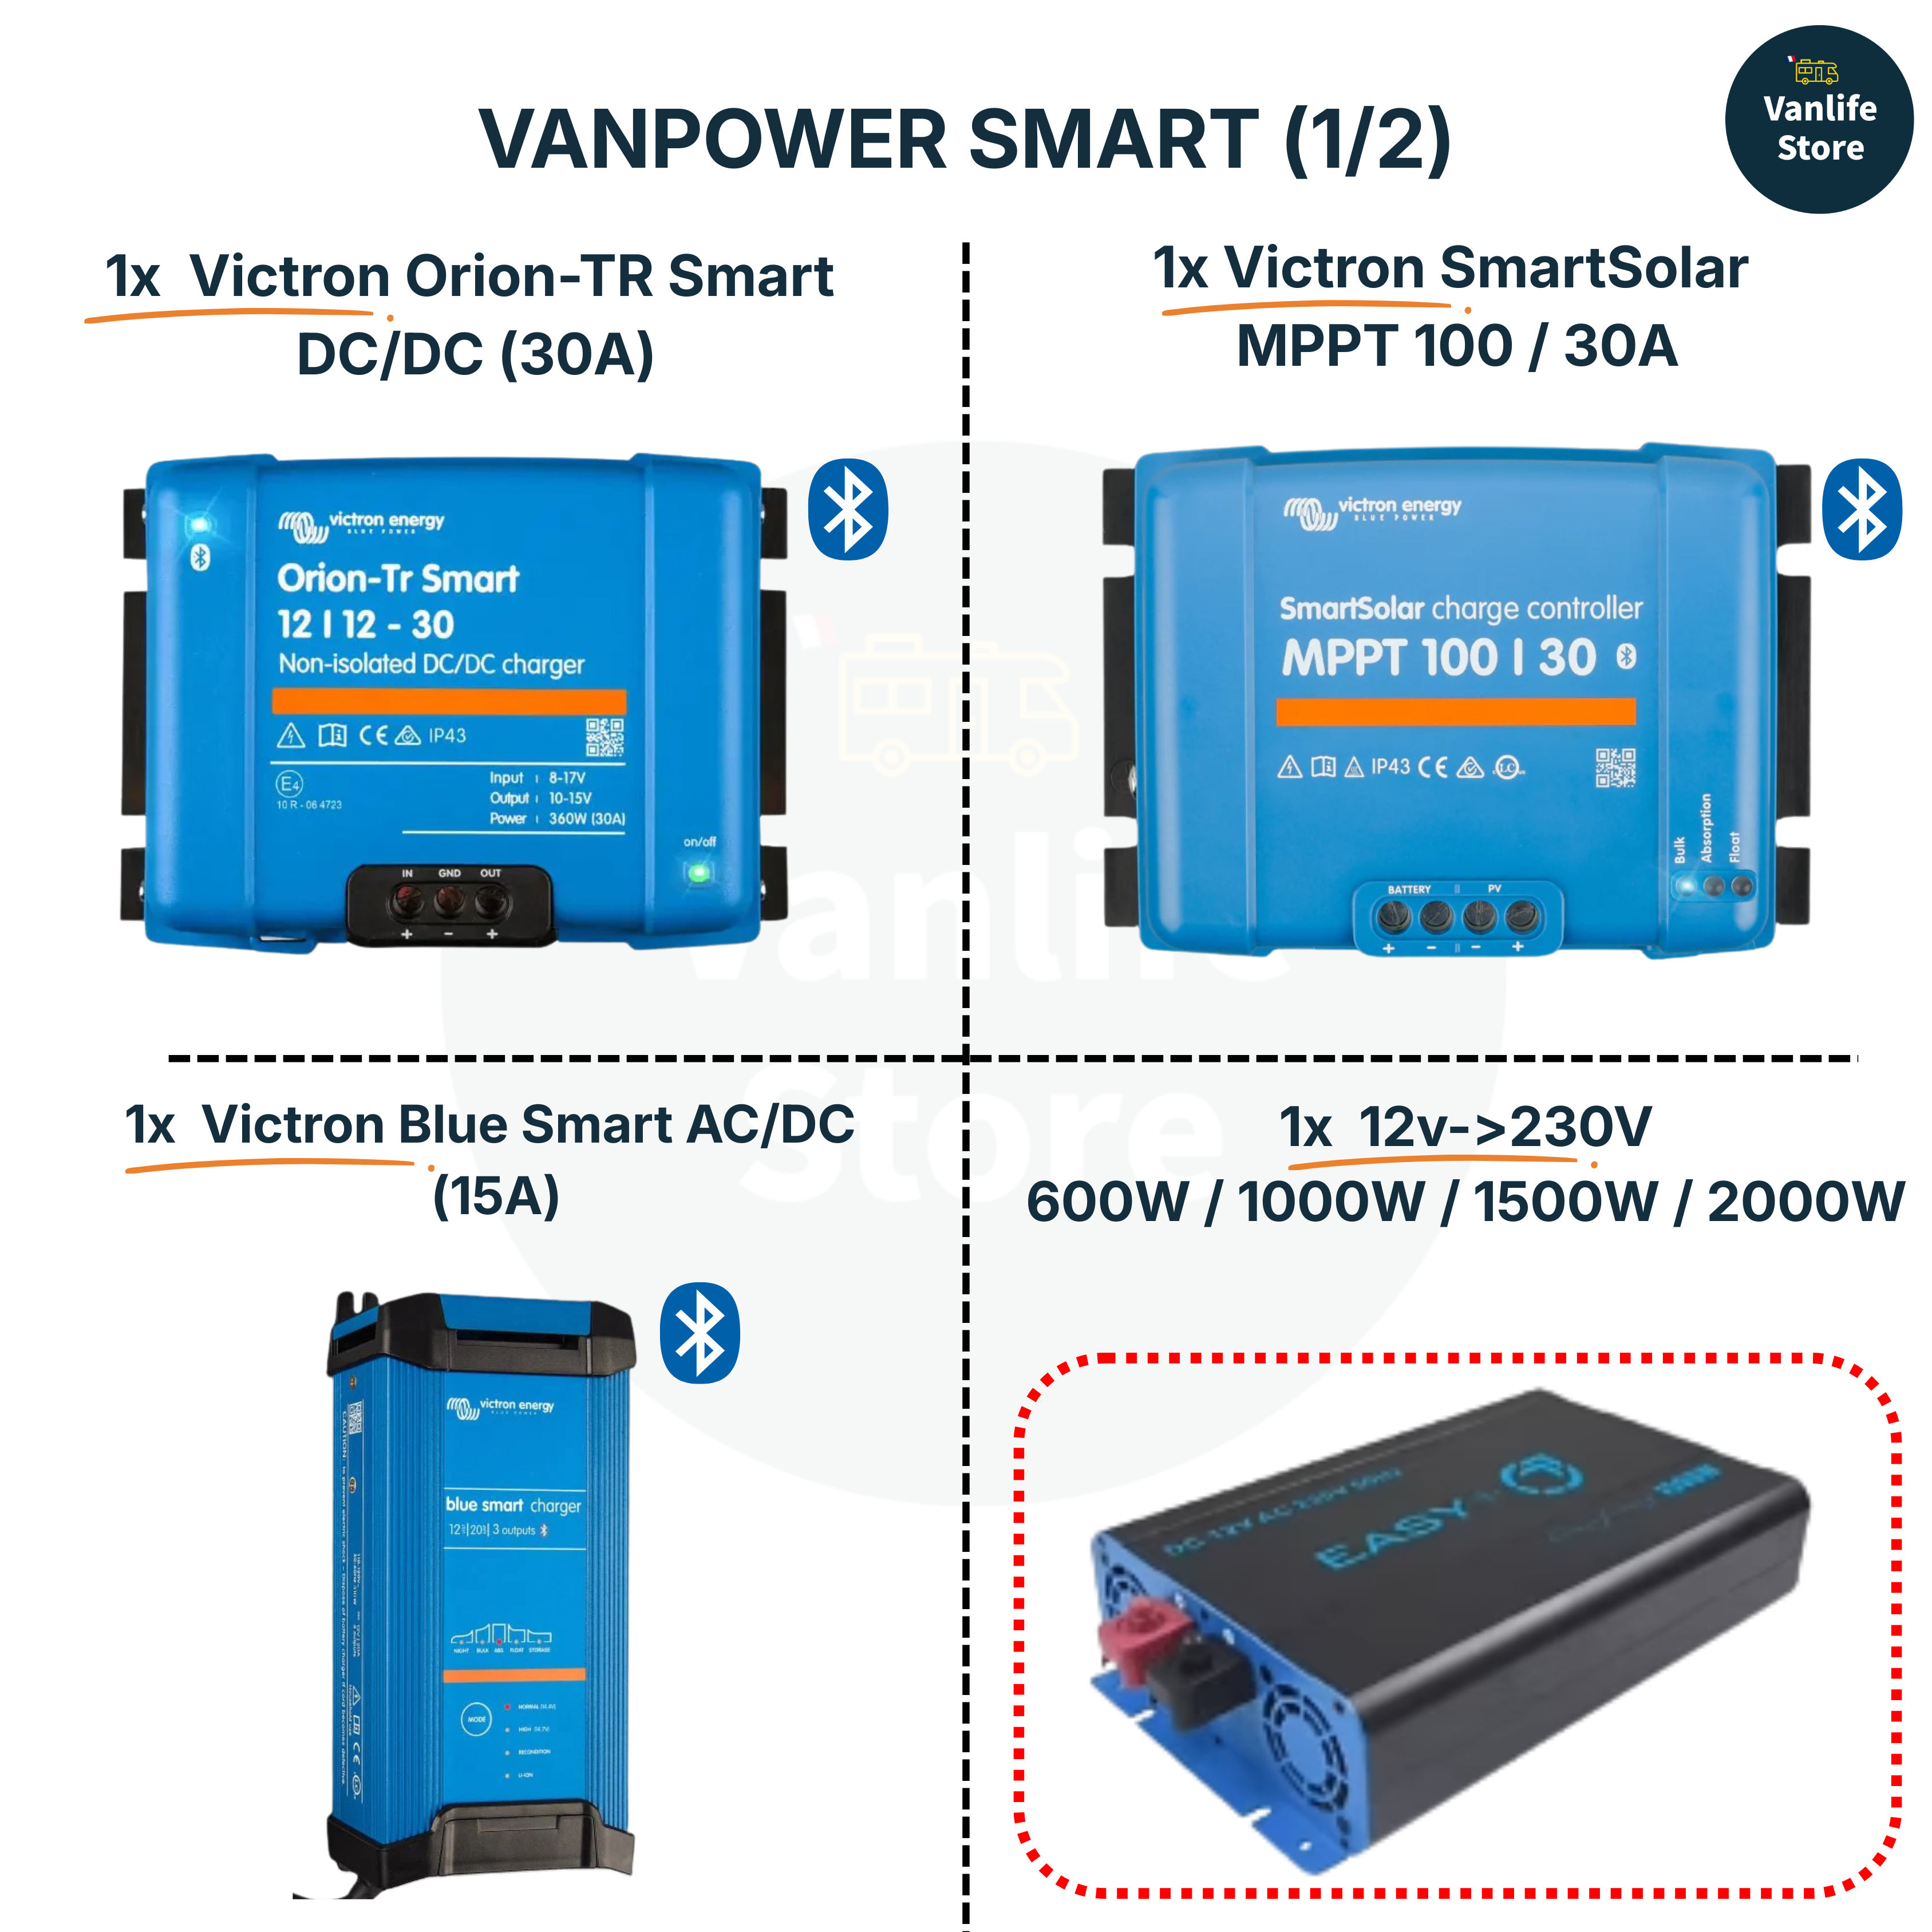
- Examples of compatible products
- 🔍 1. Remove the old Motorhome window
- 💧 2. Protect the bodywork with masking tape
- ⚙️ 3. Prepare the cutting template
- 🪟 4. Mark and drill to facilitate cutting
- 🧼 5. Remove intermediate reinforcements (if present)
- 6. Cut the sheet metal cleanly
- 7. Apply an anti-rust treatment
- 8. Apply the adhesive sealant for installation
- 9. Install the new Motorhome window and its counter-frame
- Frequently Asked Questions (FAQs)

Our Vanlife layout experts are here for you! Whether you have a question about our products or are looking for advice to transform your van into a true nomadic cocoon, contact us – we’ll be happy to guide you!
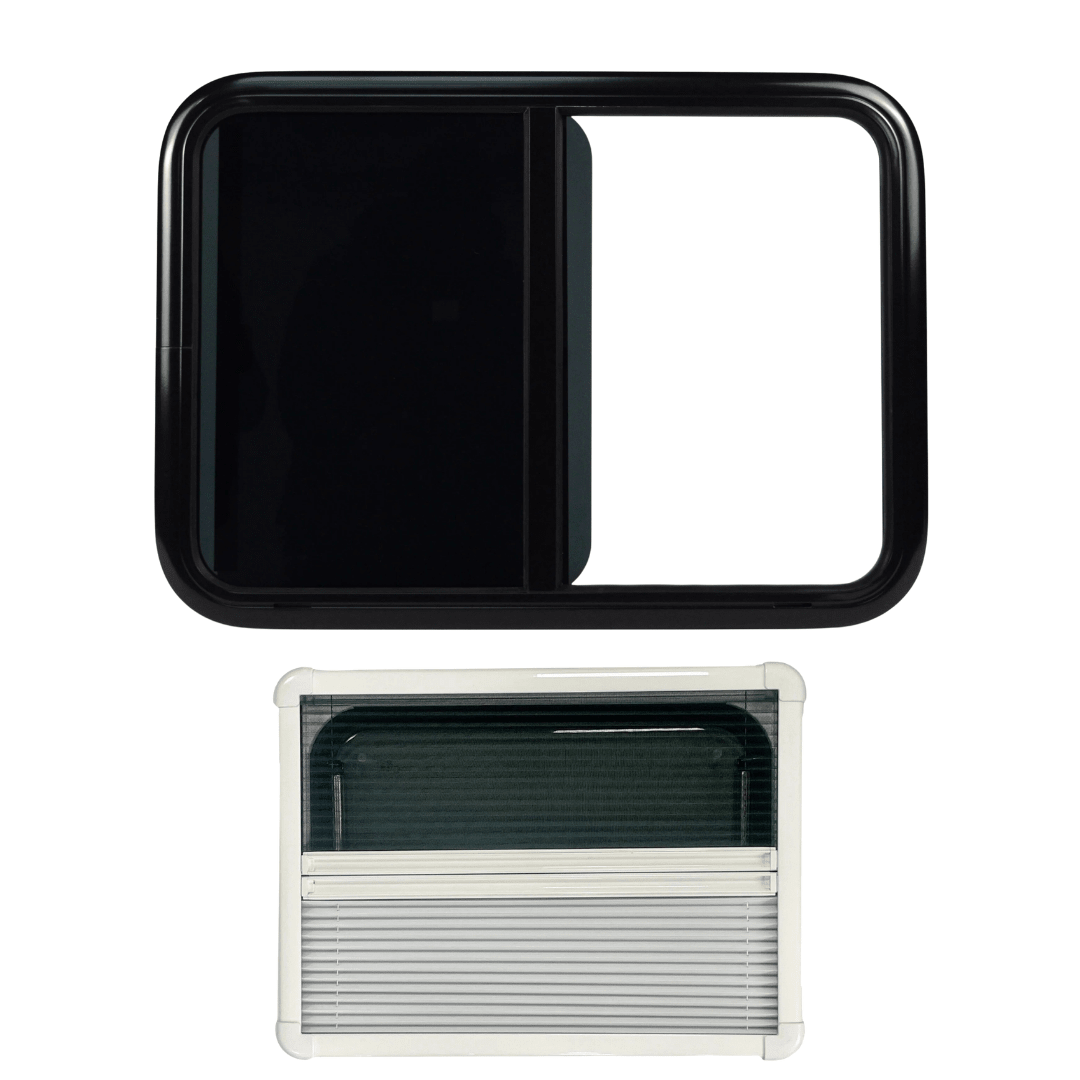
Examples of compatible products
🔍 1. Remove the old Motorhome window
For a replacement, the first step is to carefully remove the existing window. Remove the screws, seals, and the inner counter-frame. Once everything is dismantled, you should have a bare and clean sheet metal, free of glue, rust, or sealant residues.
💧 2. Protect the bodywork with masking tape
Before any cutting, apply masking tape around the cutting area formed by the recess zone of your Motorhome window. This helps to protect the paintwork and avoid any scratches or chips caused by the jigsaw blade. This is a step often overlooked but essential for a professional finish.

⚙️ 3. Prepare the cutting template

From the new Motorhome window you are going to install, create a template with the correct dimensions. The template must correspond to an opening equal to or larger than that of the old Motorhome window. Use rigid cardboard or thin plywood to ensure precise tracing.
🪟 4. Mark and drill to facilitate cutting
Place your template on the sheet metal, then trace its outline with a marker. Next, drill pilot holes at each corner: these holes will allow you to insert the jigsaw blade more easily and achieve threaded parts.
💡 Tip: if you need to widen an old Motorhome window hole (or Campervan), follow the same process while keeping the drill holes clean.
🧼 5. Remove intermediate reinforcements (if present)
Sometimes sheet metal reinforcements cross the cutting area. In this case, you can cut them with a grinder and remove them. These parts are not load-bearing but only anti-vibration, so their removal does not affect the overall structure.

6. Cut the sheet metal cleanly
Follow the line traced by the template of your Motorhome window by cutting with a jigsaw fitted with a blade suitable for metal. Work slowly to keep a clean and burr-free line. Beware of splashes: wearing goggles and gloves is recommended.

7. Apply an anti-rust treatment
Once the cutting is finished, treat the edges with an anti-rust product (such as Ferose or Rustol). This will prevent future corrosion, especially on older vehicles or those exposed to the elements.

8. Apply the adhesive sealant for installation

On the edges of the new opening, apply a regular bead of adhesive sealant. To fix the window to the sheet metal, Sikaflex 265 is ideal. If you use battens, glue them with Sika 11-FC for a durable fix. Don’t skimp on the amount to ensure waterproofing.
9. Install the new Motorhome window and its counter-frame
Position your new Motorhome and Campervan window on the outside, then align the battens and the inner counter-frame. Then screw from the counter-frame to the window, without going through. The assembly must be solid and watertight, with no play or movement once the screws are tightened.


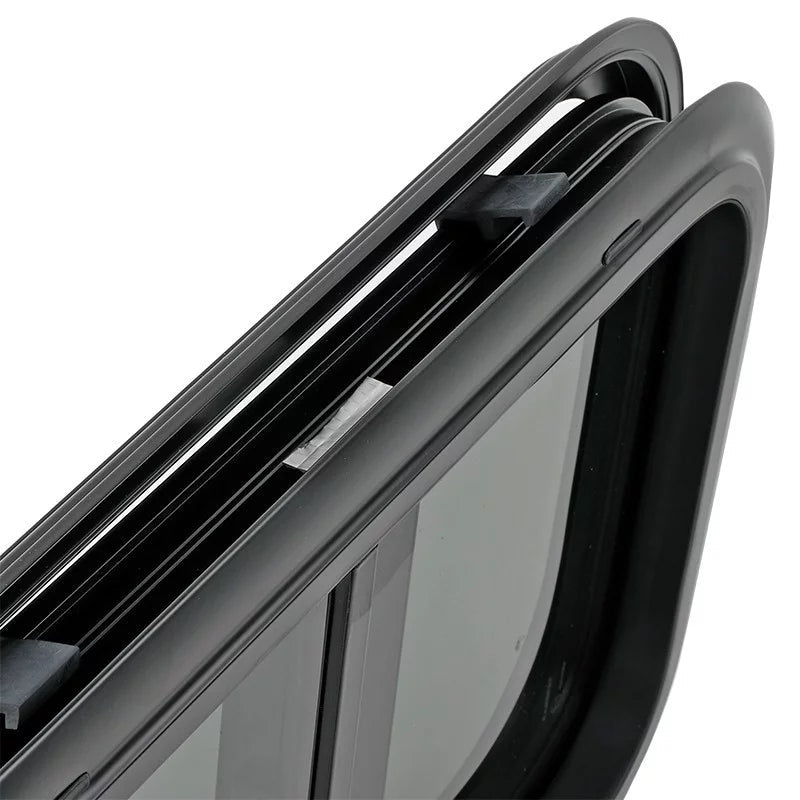
Tips for installing windows on your van

Tips to compensate for the curvature of van sheet metal

Your Push window does not need to be curved to be installed on your van wall:
- When the assembly made of your sheet metal + your battens is slightly thicker than the distance (A) (in diagram 1 - which is the distance between the ends of your counter-frame and the window on the outside), the pressure exerted by the outer parts when screwed together will compensate for the curvature of the sheet metal. There is usually a few millimeters left between the sheet metal and the end of the window, which is filled with adhesive sealant.
- The screw (ideally self-drilling - otherwise you will need to first drill a hole) goes through the counter-frame to the grooved part of the window, without piercing it.
- Once tightened, the whole assembly must be perfectly immobile and compact
- The thickness of the batten can be as wide as you want! The key is to have a screw going from the inner counter-frame to the part in the window that solidifies the whole assembly!

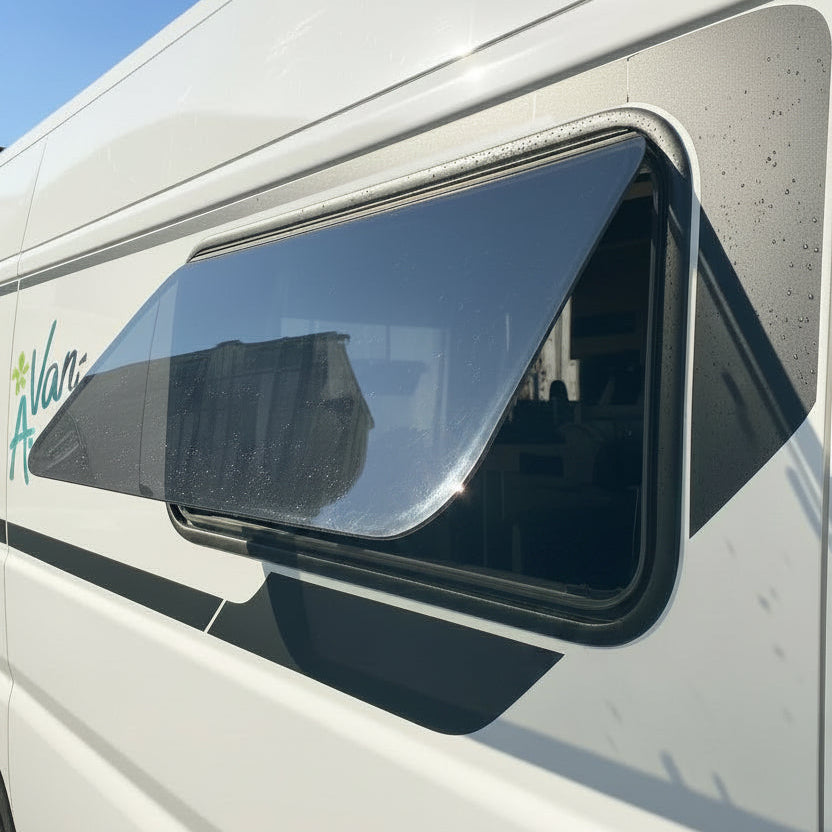
📌 10. Admire the result!
Your Motorhome window is now neatly installed, with a precise cut, ensured waterproofing, and a professional finish.
You can put the window blind and mosquito net back in place if necessary, and test the proper opening/closing of the window.
Conclusion: a repaired Motorhome window means a smoother journey
Don't let a broken Motorhome window ruin your trips. By following these tips, you can diagnose and repair a faulty Motorhome or Campervan window yourself, whether it is sliding, Push window, or fixed.

Our experts are available to answer all your technical questions or questions about our products
🛍️ Why trust VANLIFE STORE?
Need a replacement hinge, a sealing kit, or a new ready-to-install window? 👉 Find everything you need on Vanlife-Store.com and prepare your next adventure with peace of mind.
At VanLife Store, we know how much your comfort depends on the reliability of your equipment. That’s why we offer:
✅ A wide selection of suitable windows for all types of vans and Motorhomes (Push window, sliding, fixed window).
✅ Complete tutorials to support you step-by-step in your repairs.
✅ A team ready to listen to guide you in your choices and answer your technical questions.
How to repair a broken Motorhome window? (or broken Motorhome glass)
You need to remove your existing glass, clean the surface, and install the new window by following our detailed tutorial. After installation, you should also check the seal by spraying with a hose. Our technical teams are also available to answer your questions via chat: feel free to contact us.
How long does it take to repair a broken Motorhome window glass?
By following our detailed tutorial, replacing a broken or damaged Motorhome window or glass can take between 20 minutes and 1 hour.
How much does it cost to replace a broken Motorhome window glass?
To replace a broken Motorhome window glass, the costs to expect are:
- The price of the window (between €219 and €359 on average at Vanlife Store)
- The price of Sikaflex 265 adhesive sealant (on average €14)
- Optional: installation fees by a professional, ranging from €180 to €280
Note that by following our detailed tutorial, it is entirely possible to install your window yourself. You will only need battens, a jigsaw, and a screwdriver.
Which windows to choose to replace a broken Polyplastic, Plastoform, or Parapress window
As replacements for Polyplastic, Parapress, or Plastoform windows, we strongly recommend our Push windows (in dark or light tint) for which spare parts are available for 5 years and prices are generally 50% cheaper than the original windows. They come with a 2-year warranty and are delivered with a detailed replacement tutorial.
Compatible Windows are available in the Windows section at Vanlife Store