Why this article?
If you are preparing to install a window on your panel van conversion, you will inevitably face the question of the subframe. And it is probably the part of the installation that generates the most questions from our customers: Which dimension to take? How exactly is it fixed? Should it be screwed into the wood? Which screws to choose?
If installed poorly, the subframe causes water leaks, weak points, and sometimes forces you to dismantle everything after a few months. Properly installed, it guarantees a watertight window for 10 years or more.
In this guide, we cover all the points that raise questions so your installation is clean the first time. You can also watch the video above for the full demonstration.
What is a subframe and what is it for?
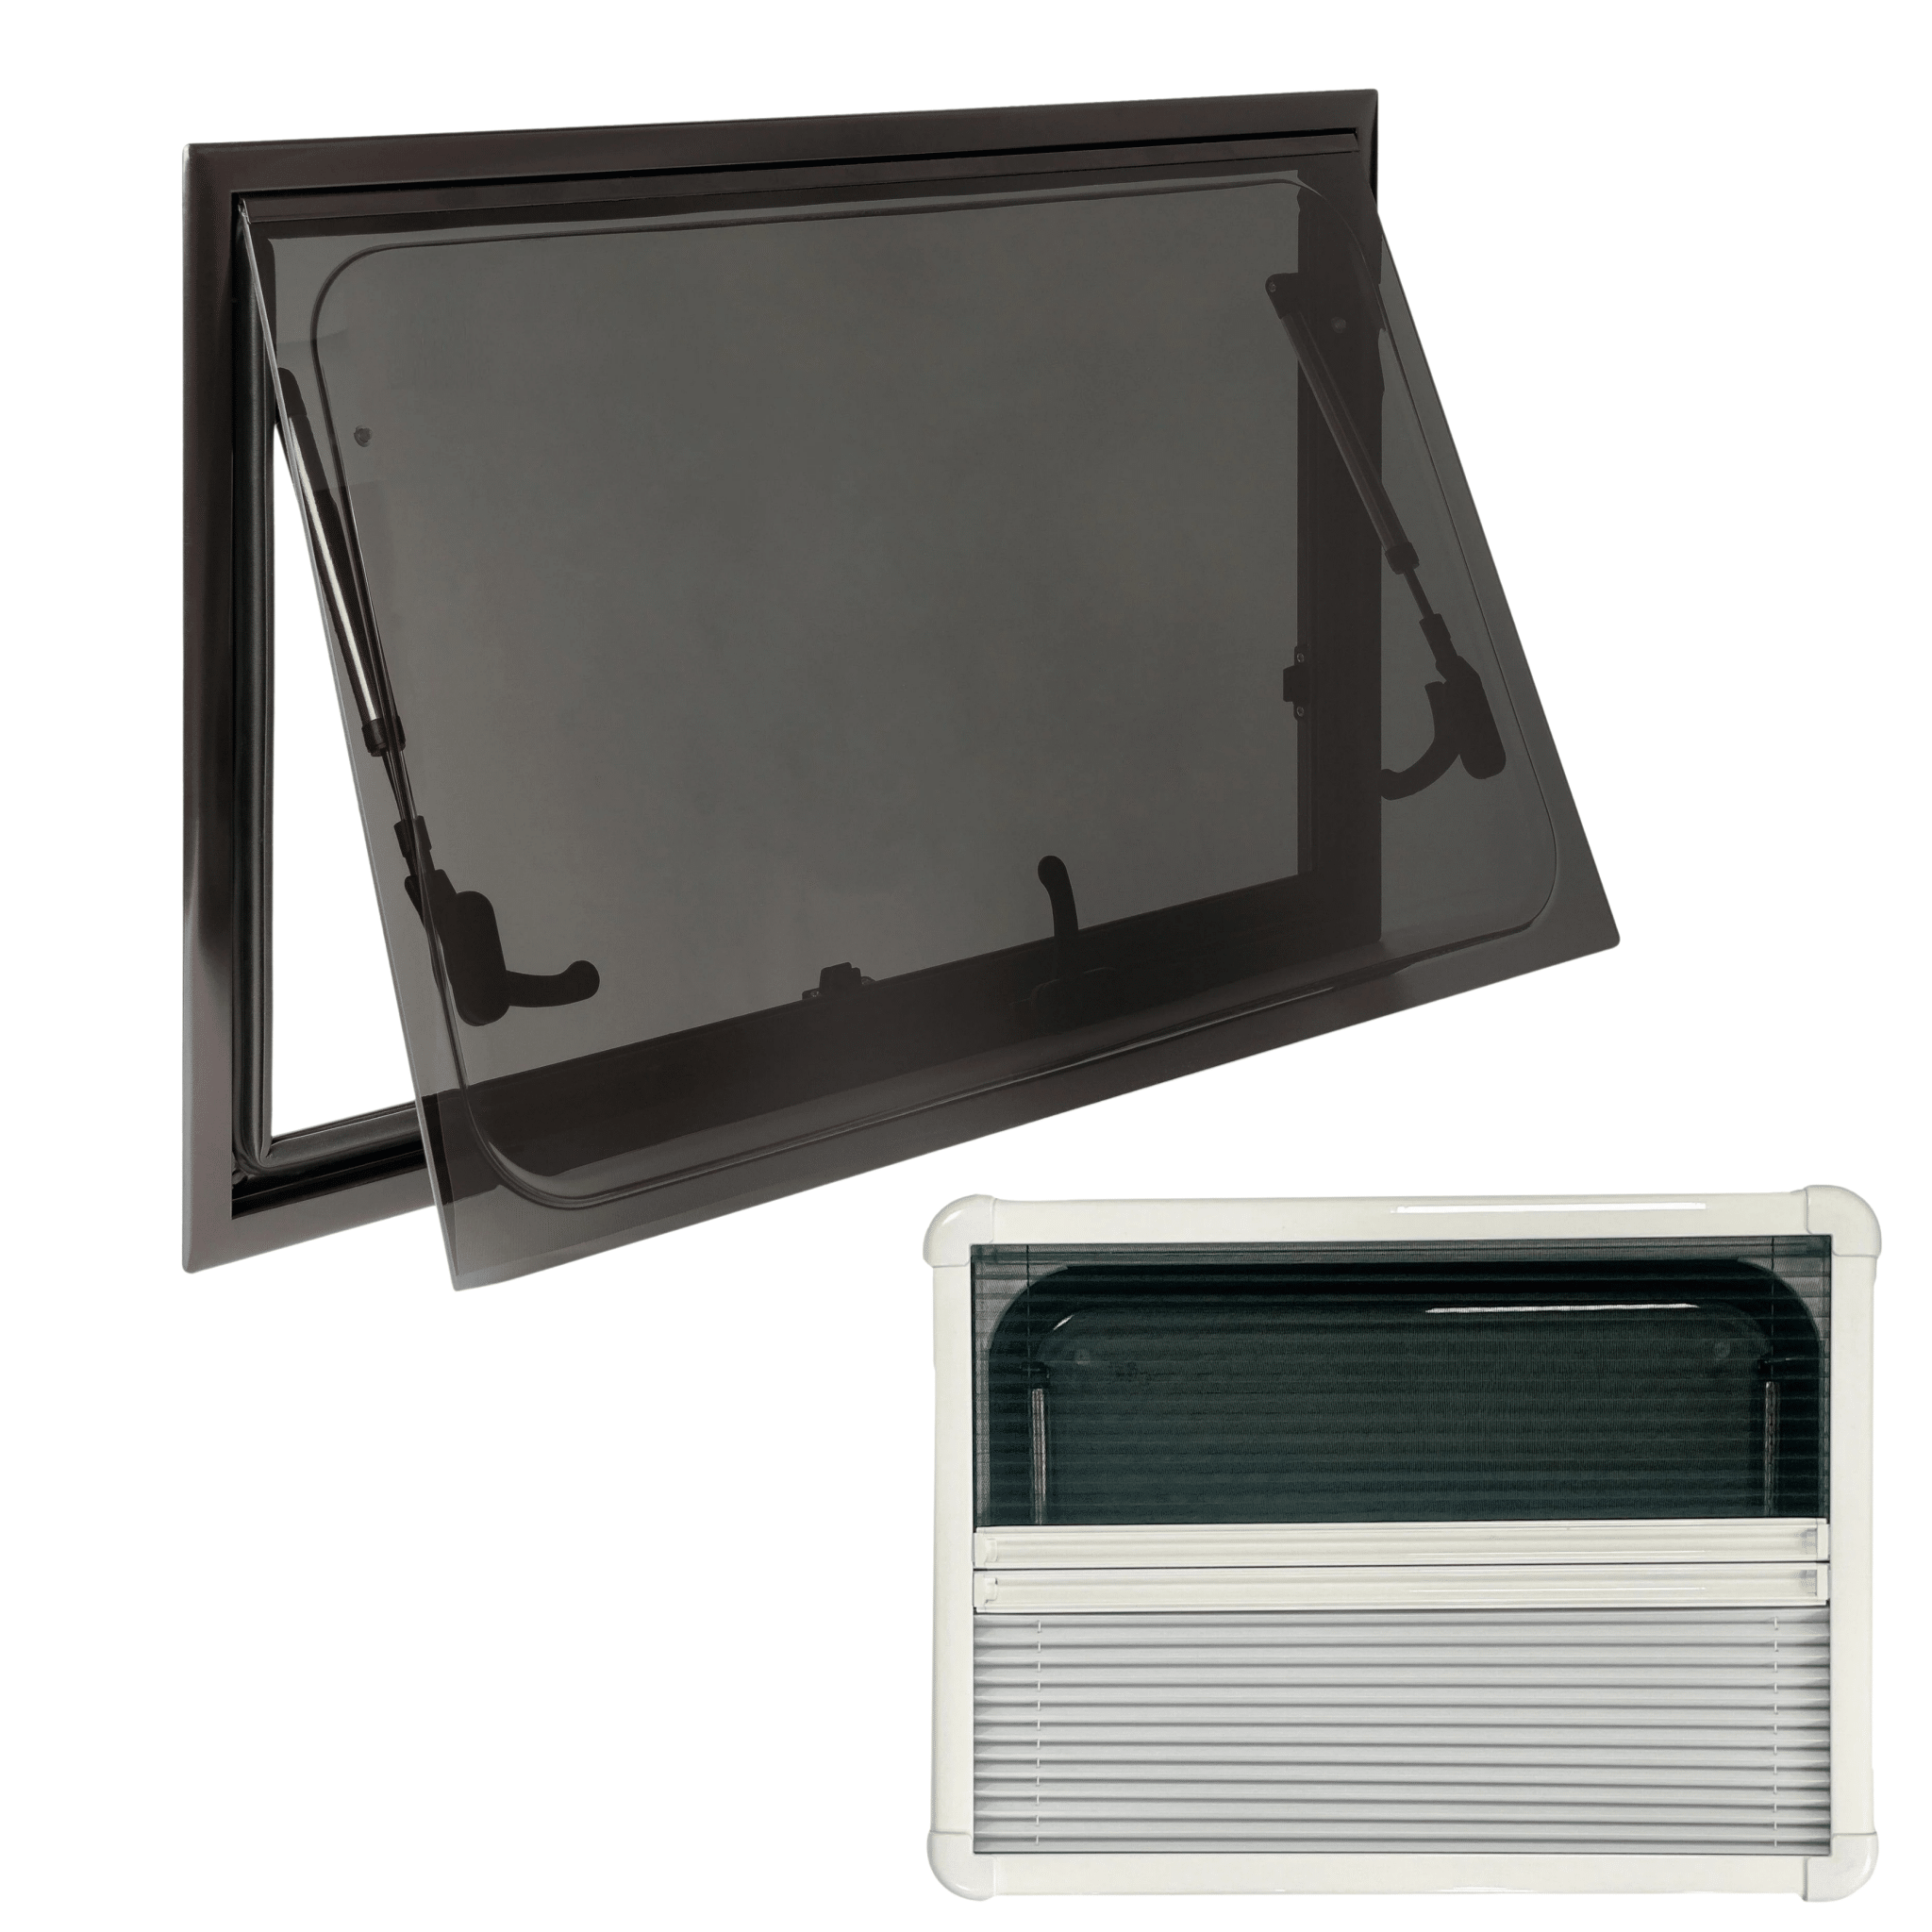
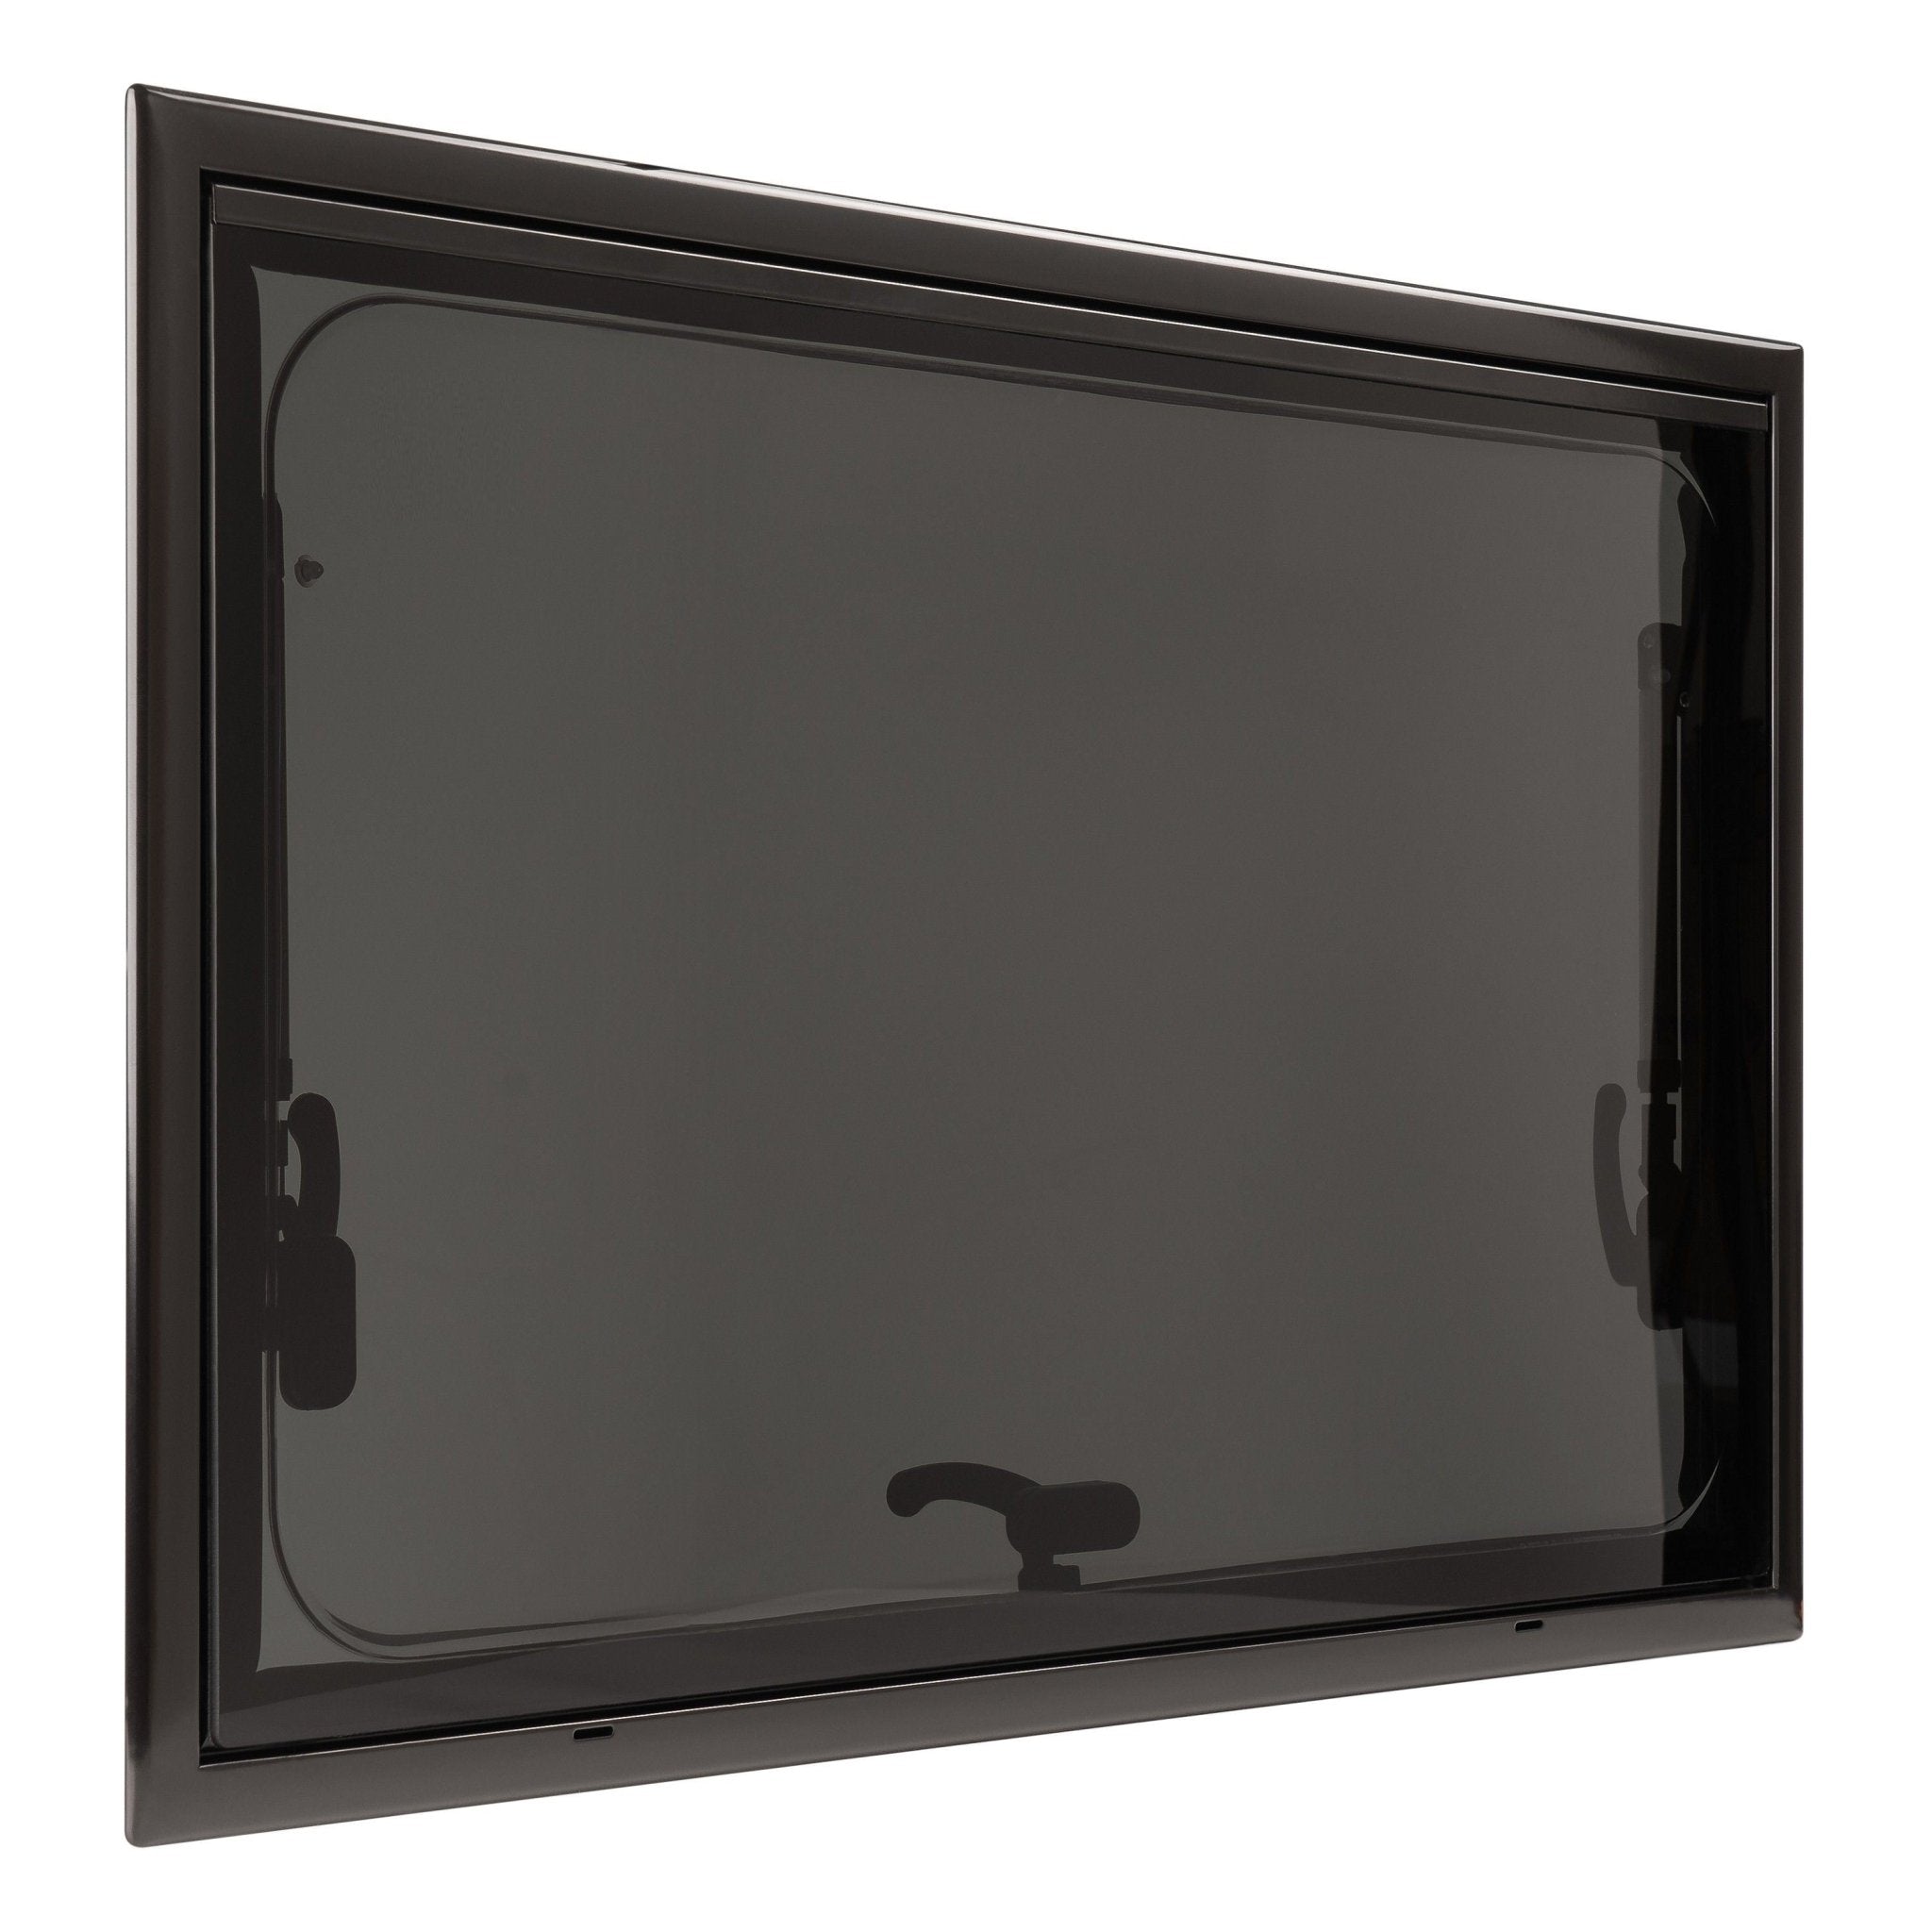
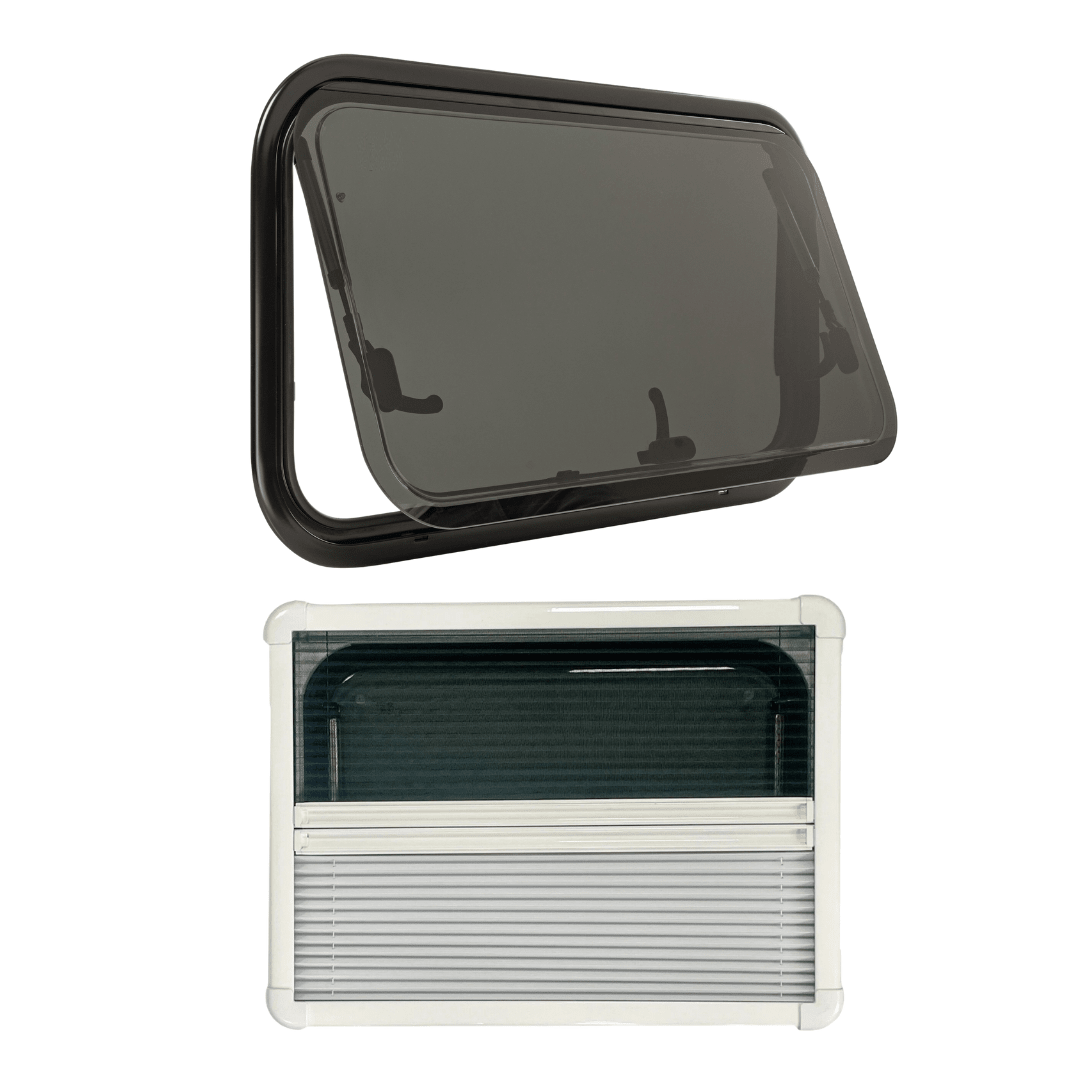
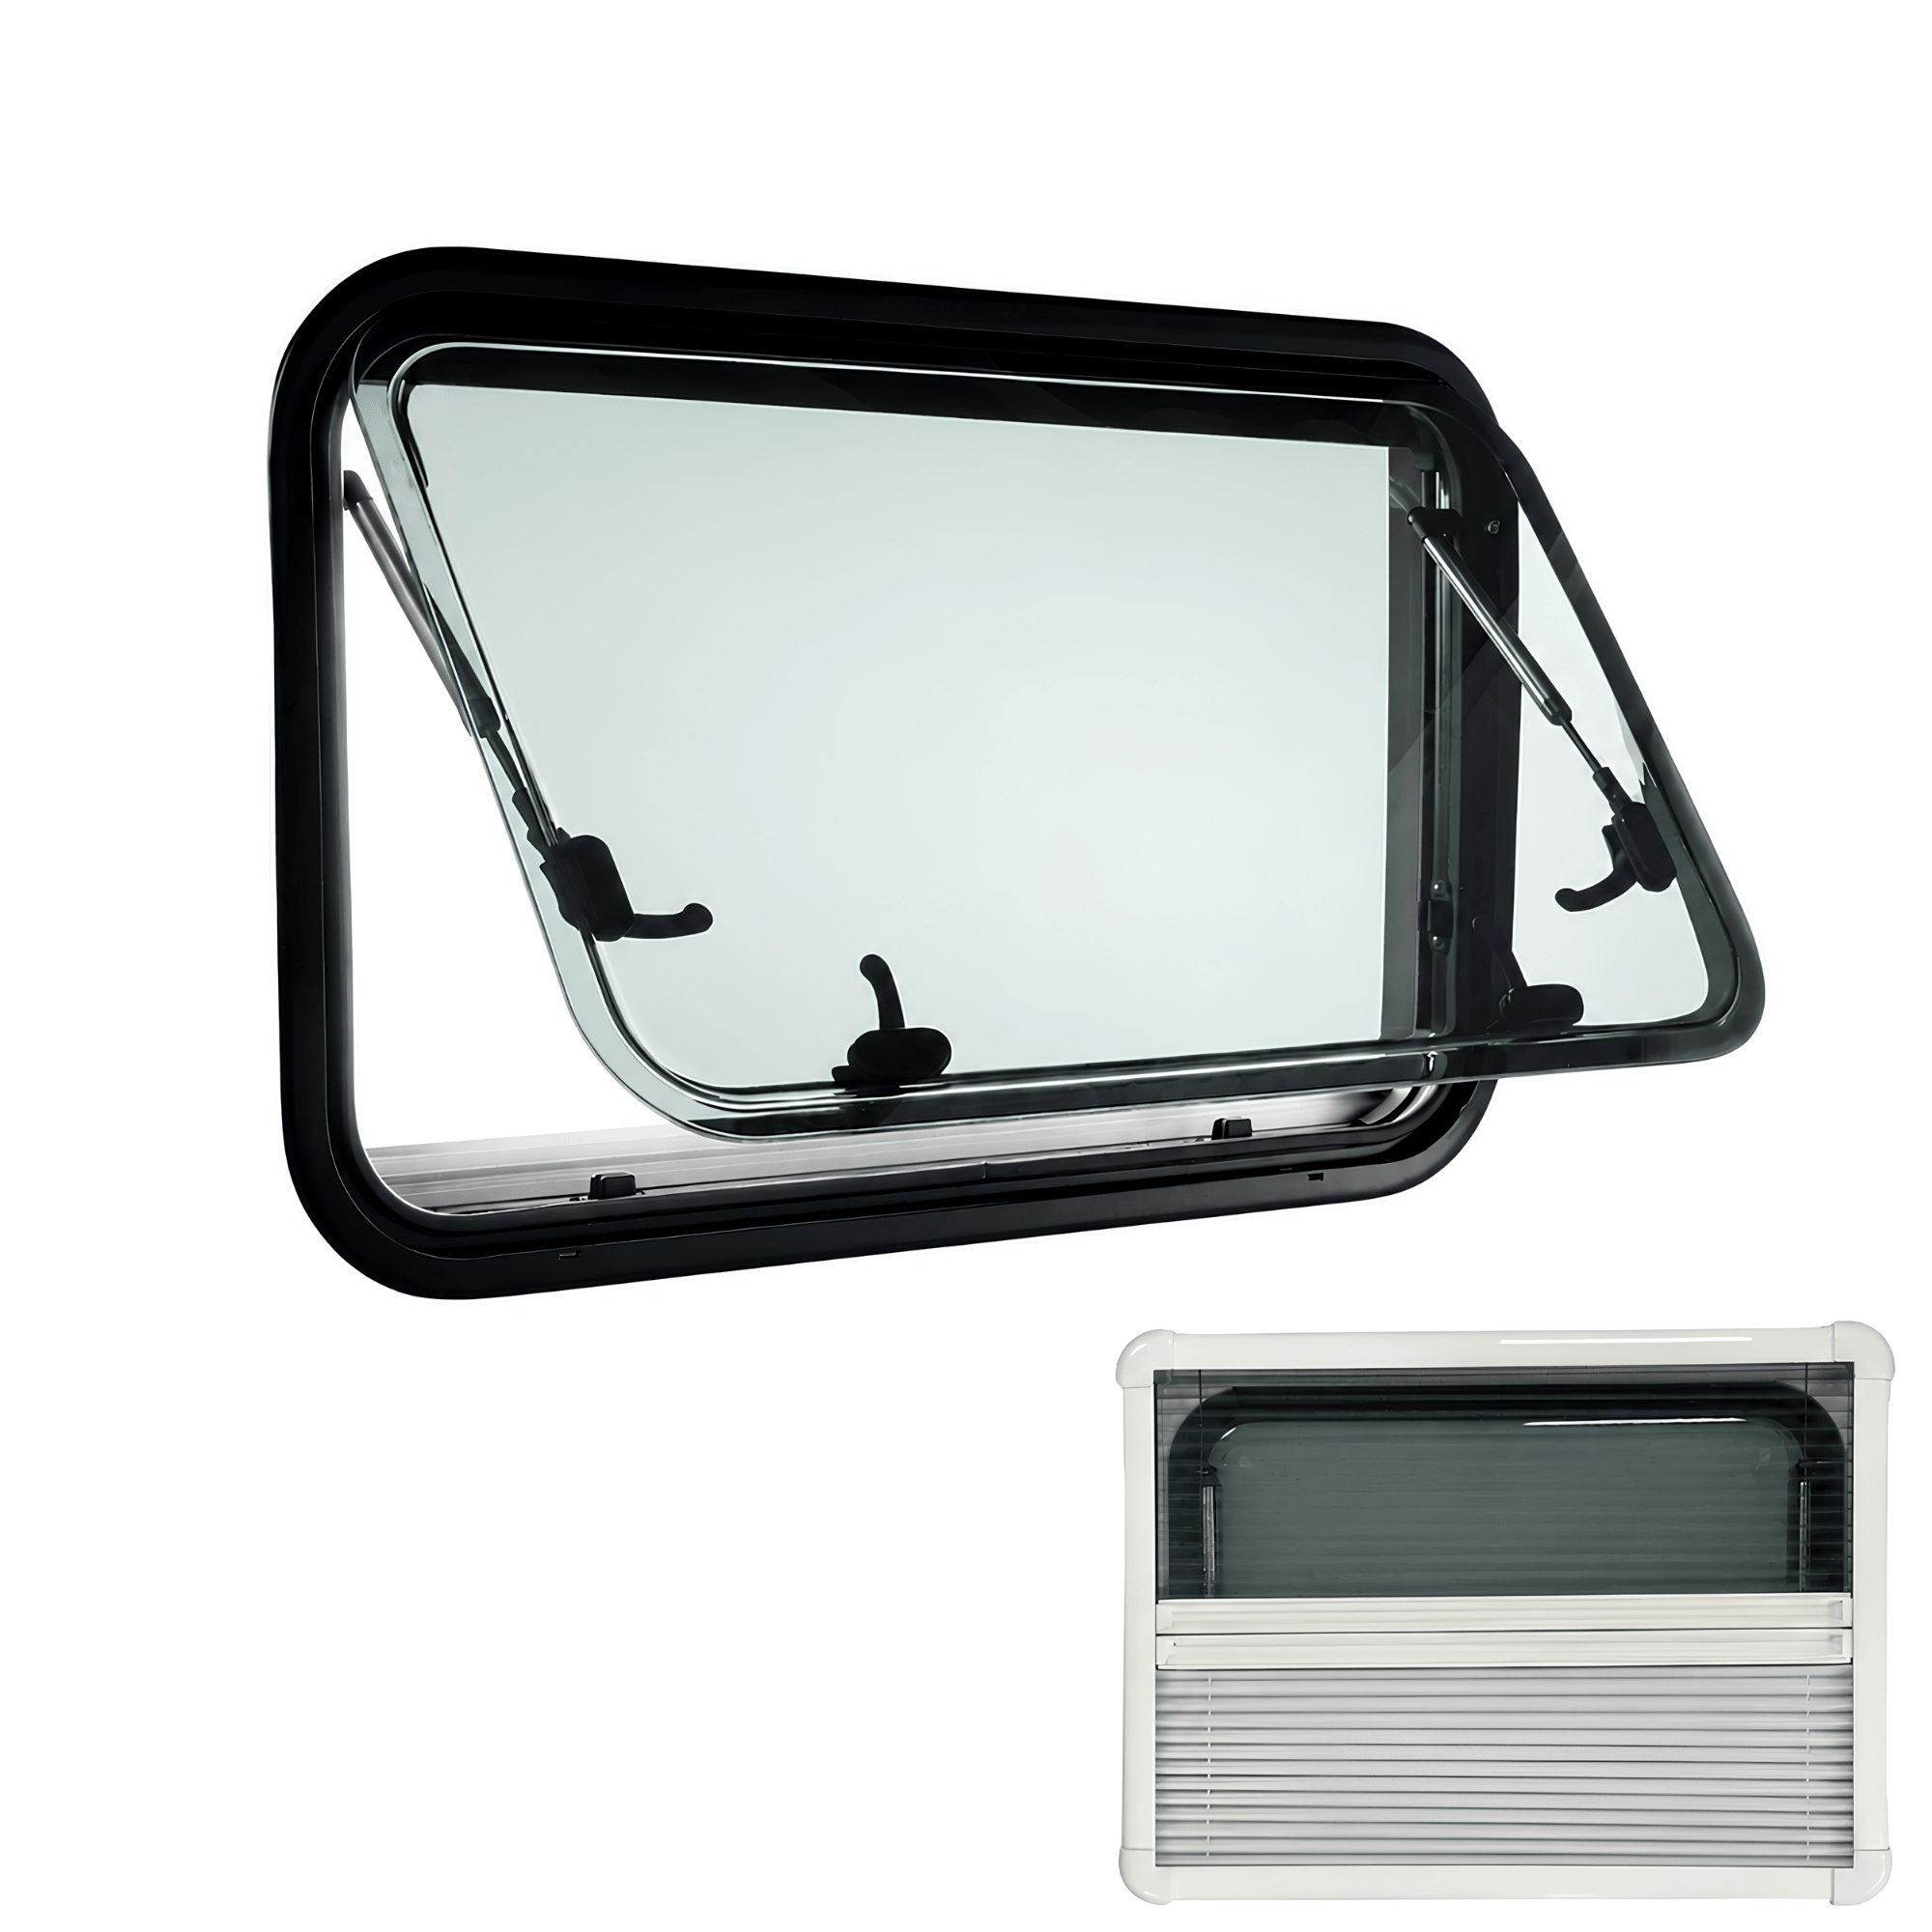
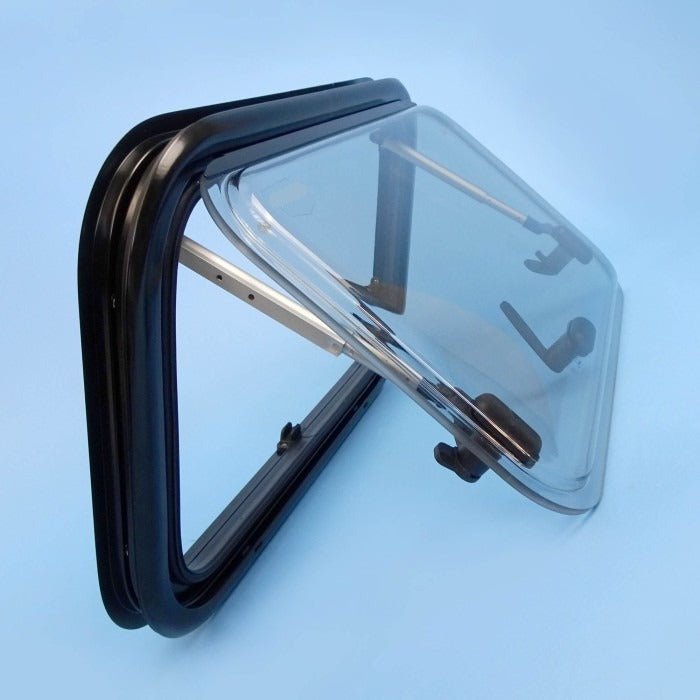
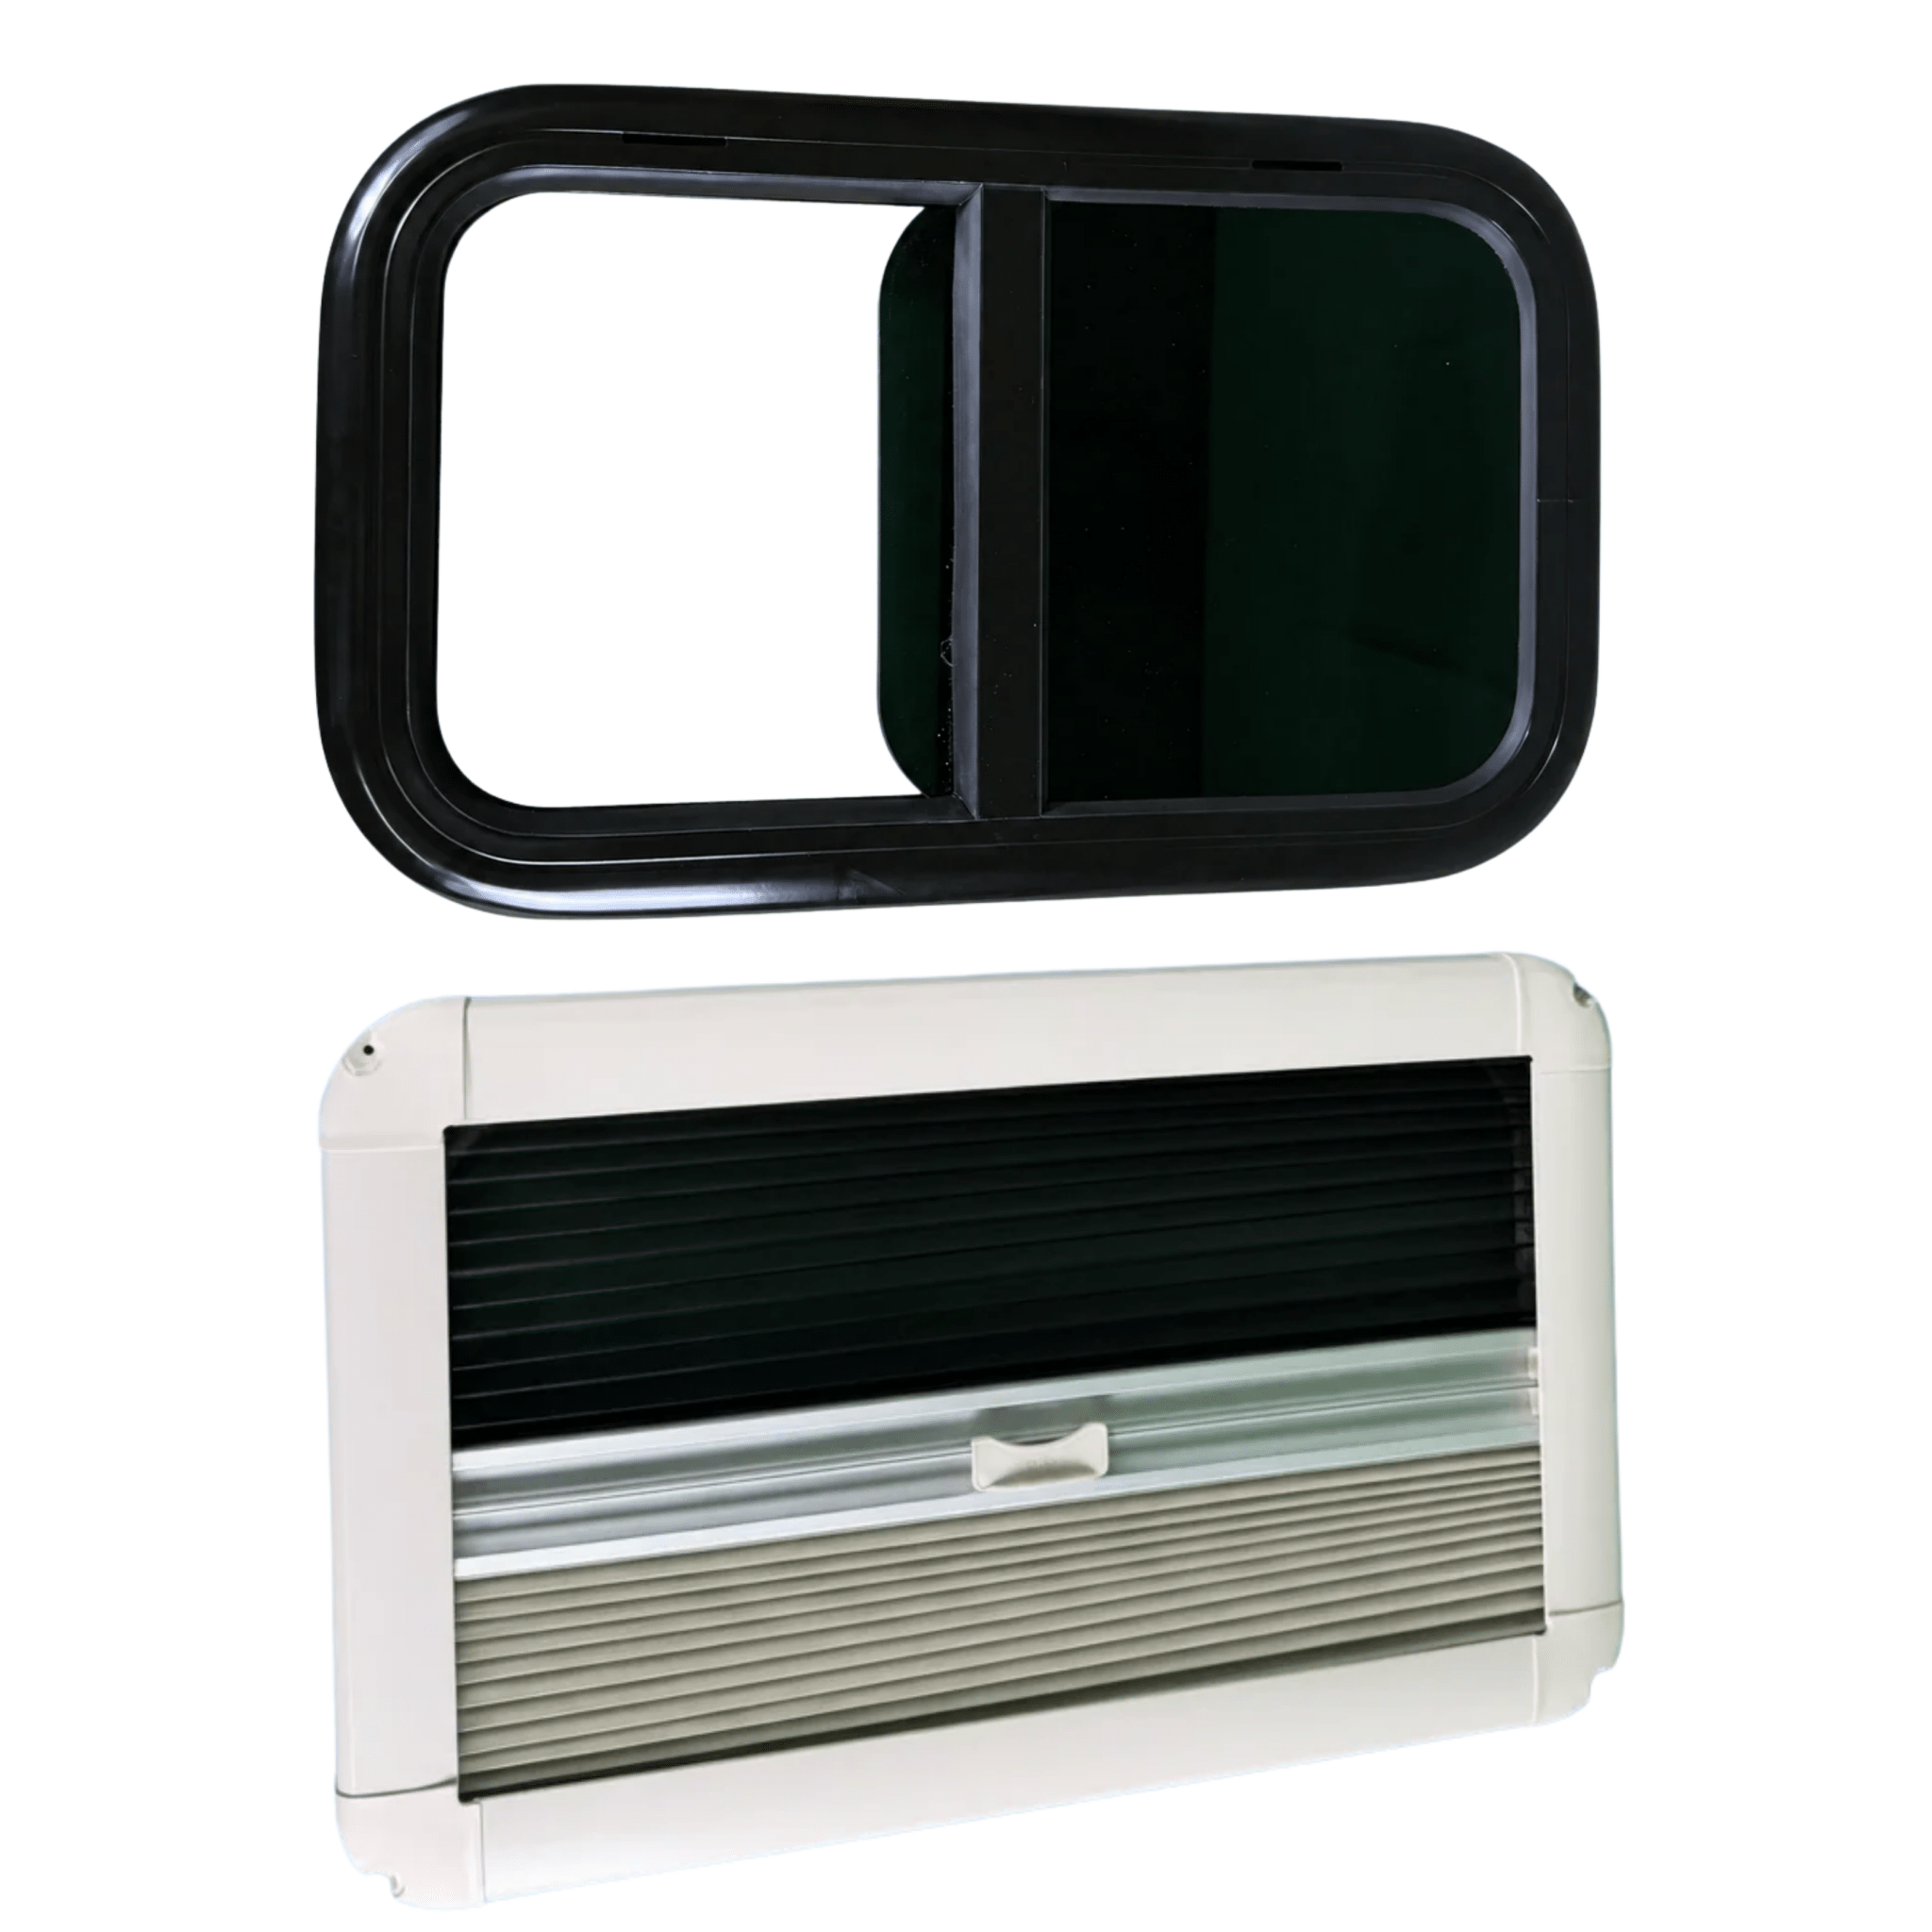
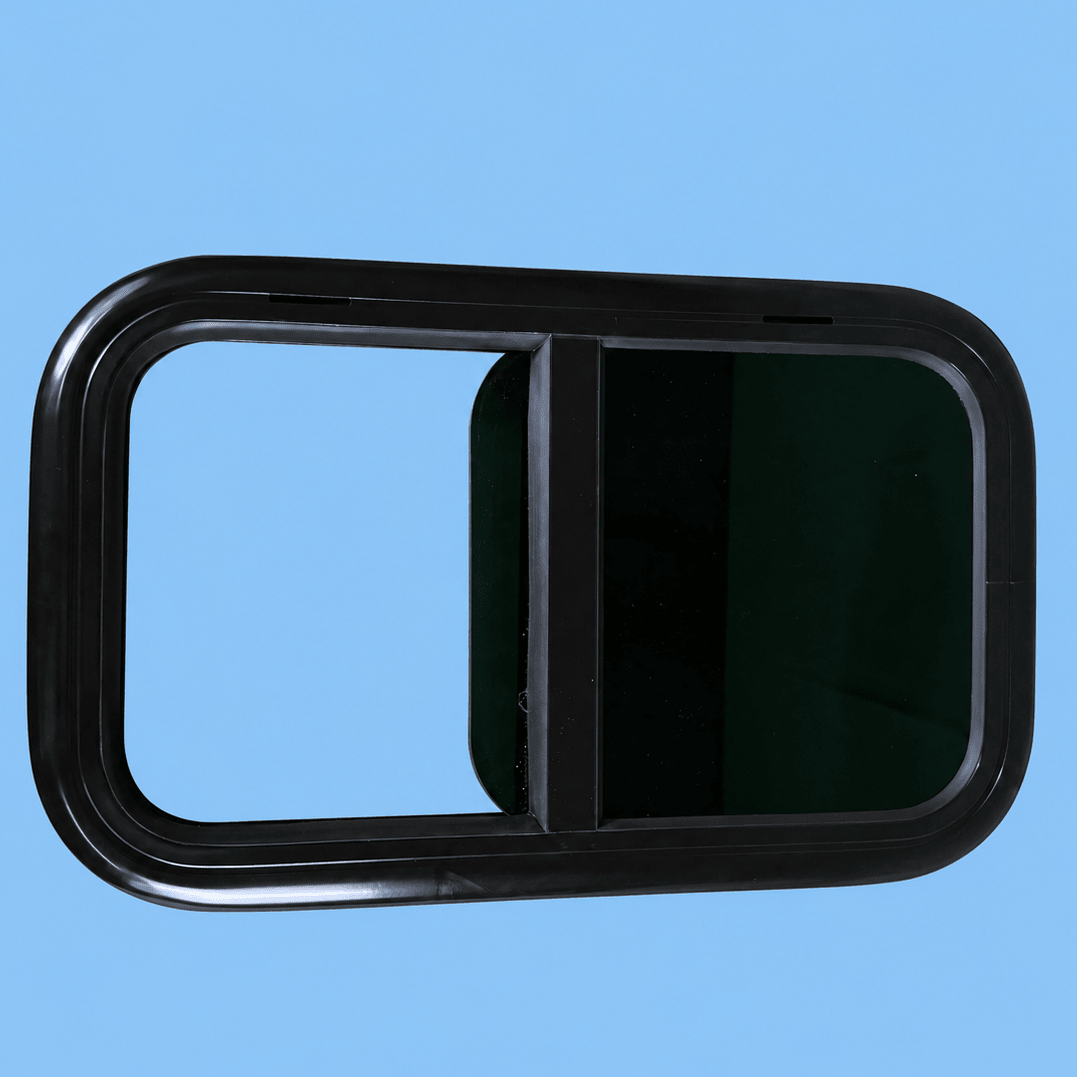
The subframe is the black piece (made of plastic or aluminum depending on the model) that is placed inside your vehicle, opposite the window. With the window on the outside, the subframe compresses the assembly from the inside.
Its role?
- Mechanically hold the window in place without having to drill the metal sheet to screw it
- Compress the sealing gasket to ensure no water infiltration
- Give a clean finish on the inside by hiding the cut metal sheet and the wooden batten
- Sandwich your wooden batten and your metal sheet to secure the whole assembly
Without a subframe, your window holds poorly and the seal is not guaranteed. It is an essential part, always supplied with our Vanlife Store windows.
Step 1: take the correct measurements
First thing to understand: the inner dimension of the subframe corresponds to the cutout size for your window.
Concretely, this means:
- You mark your cutout on your panel based on the inner dimension of the subframe
- Not the outer dimension of the window, nor the outer dimension of the subframe
If you take the wrong dimension (for example, the outer dimension of the subframe), your cutout will be too large and your window will rattle in the cavity. If you take the outer dimension of the window, the cutout will also be far too large.
Remember: the inner dimension of the subframe becomes your single reference for both the cutout AND the wooden frame you will make.
For classic panel vans with metal sheets (thickness 1 to 2 mm), the wooden batten is essential.

Step 2: understand the sandwich principle
Once the cut is made and the wooden frame is installed, you will assemble everything:
- On the outside: the window is placed on the cut metal sheet
- In the middle: your wooden batten (or wooden subframe) follows the perimeter of the cutout
- Inside: the black counter-frame presses against the interior
This is called the sandwich principle. The window on the outside and the counter-frame on the inside compress the wooden batten and the sheet metal together.
This mechanical compression holds everything in place. No need for heavy glue, no need to screw into the wood. It’s the pressure applied on both sides that does all the work.
Important detail: there is always a slight play (a few millimetres) between the counter-frame and the window. The grooved part you see on the window is precisely designed to receive the counter-frame. When you tighten, the counter-frame fits exactly into this grooved part.
Step 3: fixing — why we do NOT screw into the wood
This is the question we get most often in after-sales service: “How do I fix the counter-frame? Do I screw it into the wooden batten?”
No. The counter-frame is not fixed into the wood. It is fixed directly into the window.
Here’s the logic:
- The black counter-frame presses against the inside of the wall
- You insert the screw into the counter-frame
- The screw passes through the counter-frame and anchors into the grooved part of the window (which is on the outside)
- This screw secures the counter-frame to the window
- As it tightens, the screw applies a mechanical force that compresses the entire sandwich (batten + sheet metal)
Result: you don’t need to screw into the wood. The strength comes from the mechanical compression exerted by the screws between the window and the counter-frame.
This tip makes installation accessible: no need for professional tools, no need for millimetre precision on the wood. As long as your wooden frame is the right size, tightening the screws will do the rest.
Step 4: choosing your screws — self-drilling or pre-drilling?
You have two options.
Option A: pre-drilling
You make a small pre-drilled hole in the counter-frame, then insert your screw. Advantages: you avoid the risk of cracking the counter-frame, and the drilling is very precise. Disadvantage: one extra step.
Option B: self-drilling screw
You take a self-drilling screw (sometimes called a self-tapping screw). It drills and screws in one operation. It’s faster but requires some experience to avoid forcing it.
Both work. The choice depends on your DIY skill level and the tools you have on hand.
The mistake to absolutely avoid: the screw that sticks out
This is the classic trap with this type of installation.
Whatever screw you use (self-drilling or pre-drilled), it must anchor only in the grooved part of the window, without protruding outside.
If the screw goes all the way through and comes out the other side of the window:
- You have created an entry point for water
- Moisture will infiltrate with every rain, every condensation
- After a few months, you will have corrosion, mold, and interior damage
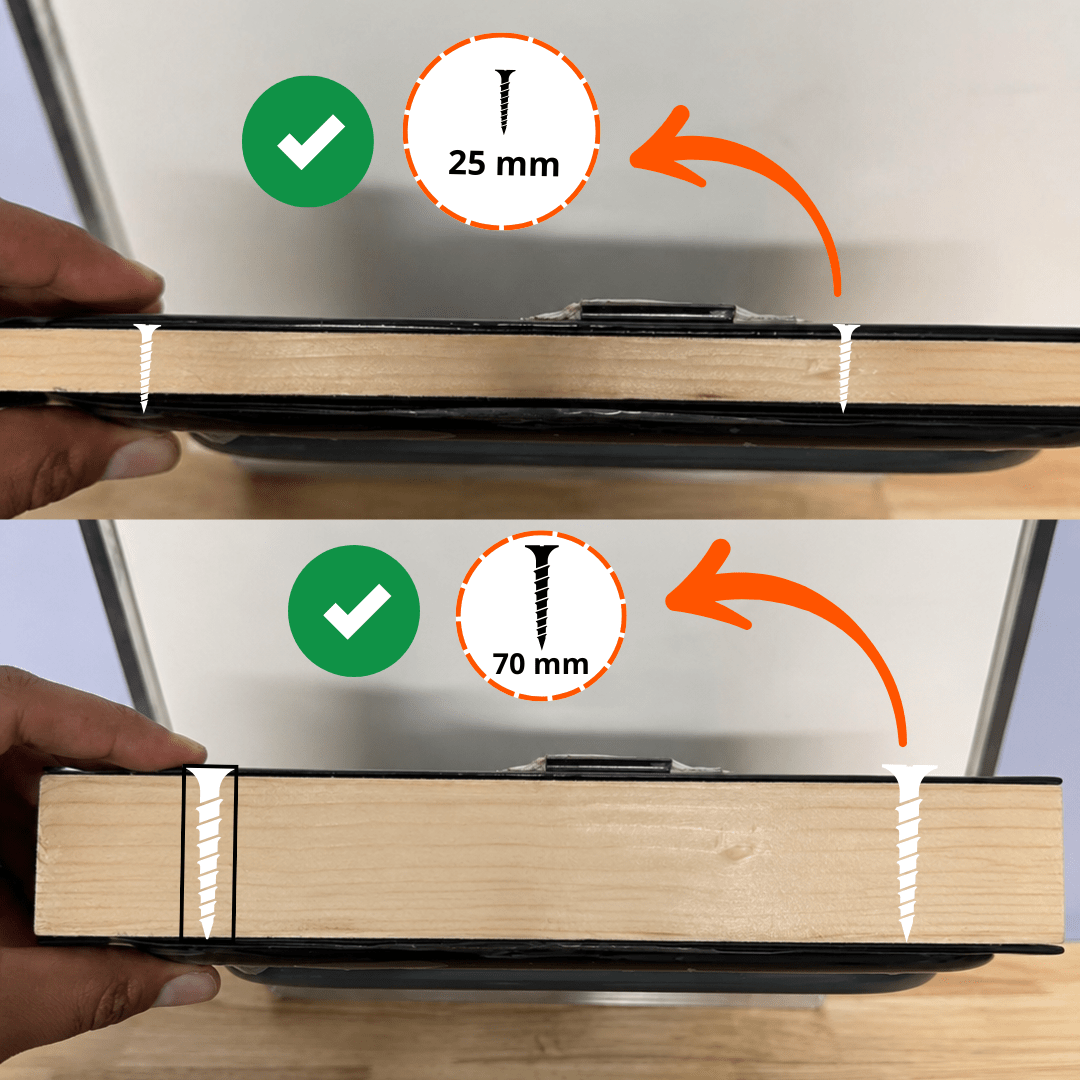
The golden rule: choose a screw length that penetrates just enough into the grooved part to hold, but never exceeds the thickness of that part.
If in doubt, do a dry fit on a window scrap before screwing on the final installation.
Summary: the checklist for a properly installed counter-frame
Before finalizing your installation, check these 6 points:
- The cutout dimension matches exactly the interior dimension of the counter-frame
- The wooden frame (or batten) is placed exactly around the cutout perimeter
- The window is positioned on the outside with its Sikaflex sealing joint
- The black counter-frame is pressed against the interior, without any play
- The screws pass through the counter-frame and anchor into the grooved part of the window
- No screw protrudes outside the window
If you check all 6, your installation is watertight, solid, and durable. You can then finish with the trim and move on to the next step of the build.
The equipment you need
For a proper installation, here’s what we offer at Vanlife Store:
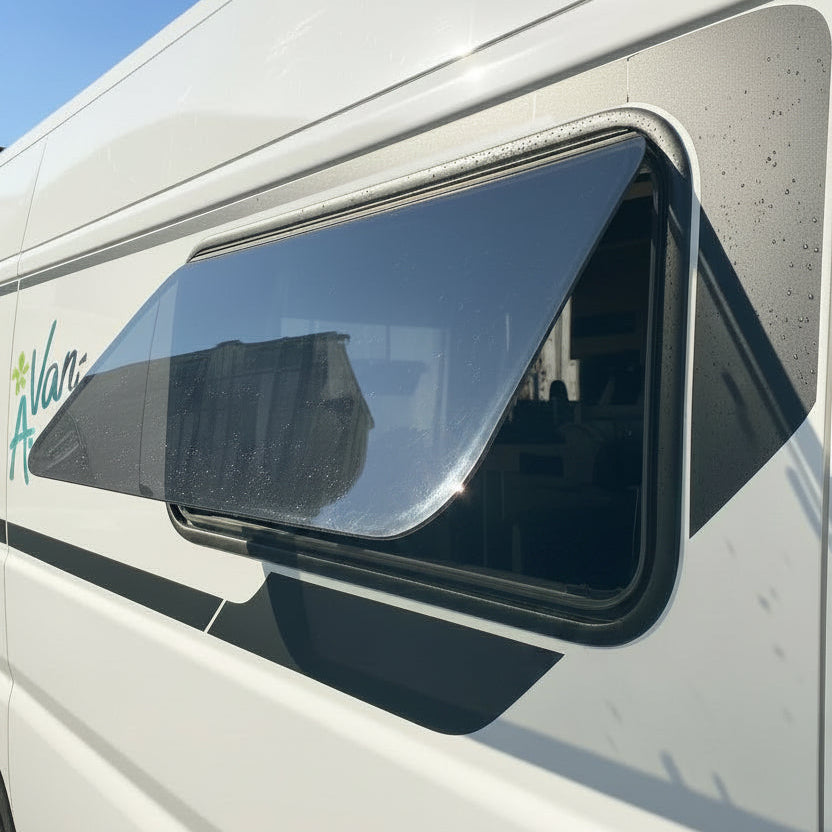
- A window adapted to your vehicle: we offer pop-out windows and sliding windows in acrylic double glazing, VASP (43-R) approved, with window blind and mosquito net included. Several sizes available. See our collection of windows for vans and campervans →
- A compatible Sikaflex pack: the specific adhesive-mastic for windows, essential for sealing the exterior joint. See the Sikaflex pack →
- Armaflex for peripheral insulation: to treat thermal bridges around the window once installation is finished. See our Armaflex insulation kits →
All our windows come with an interior counter-frame + screws + installation tutorial. You don’t need to buy anything else (except Sikaflex, which many prefer to size according to their project).
A question? We’ll answer you
Installing a window is one of the most impressive steps of the build — you cut the metal sheet, it’s final. If you have any doubts about any point (measurement to take, window choice, type of screws, corner treatment), contact us before cutting.
Our technical team answers for free by email, phone, or DM. This is included with every purchase at Vanlife Store, and even before purchase if you are preparing your project.