
Introduction
To choose a Motorhome rooflight, start with three points: cut-out size, roof thickness, and desired ventilation level. The 40x40 cm size is the most common for a Motorhome, campervan, or panel van conversion. A model with a fan improves air extraction, a 50x70 size brings more light, and a suitable sealant pack avoids most unpleasant surprises during installation.
A rooflight affects light, ventilation, interior temperature, and installation quality. Here are the 7 criteria to check before buying.
Which rooflight to choose according to your need?
| Main need | Recommended size | Why |
|---|---|---|
| Replace a standard opening | 40x40 cm | Very common size, easy to integrate on many roofs |
| Ventilate a kitchen or sleeping area | 40x40 with fan | More effective air extraction in summer or during cooking |
| Gain more natural light | 50x70 or panorama | Larger glazed surface, brighter interior |
| Compact conversion | 28x28 or small fan | Useful when roof space is limited |
| Complete new installation | Rooflight + sealant pack | The product alone is not enough; waterproofing is critical. |
Before choosing, also look at what is planned on the roof: solar panel, roof rack, antenna, box, air conditioning, rails, or cable passages.
1. What size rooflight should you choose for your Motorhome?
The 40x40 cm size is the reference format for many Motorhomes, campervans, and panel van conversions. This dimension generally corresponds to the opening to be made in the roof, not necessarily the external dimensions of the product.
If you are replacing an old rooflight, measure the existing opening or check the original model's documentation. If you are creating an opening, check the available space inside and outside. The roof may contain reinforcements or ribs that complicate installation.
For a first conversion, the 40x40 often remains the simplest compromise: bright, compact, and easy to position. For a main living area, a 50x70 or panorama size can be more pleasant if the roof allows.

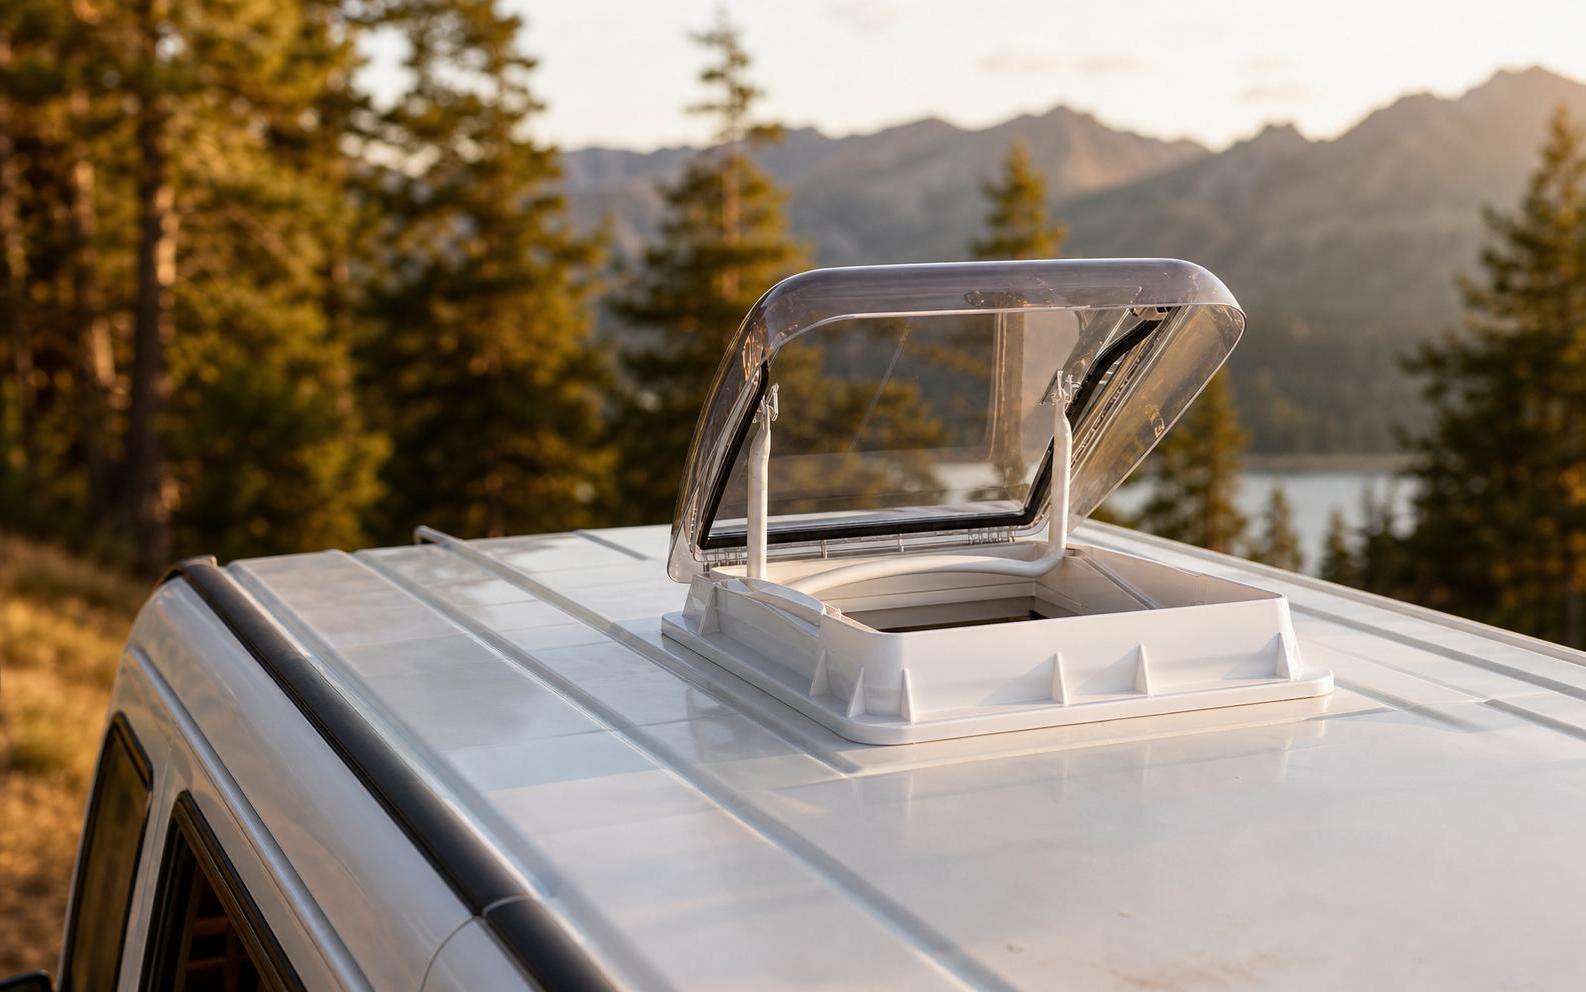
Standard 40x40 size for campervan and Motorhome.
2. Do you need a rooflight with a fan?
A simple Skylight lets in light and allows natural ventilation. A Skylight with a fan adds active ventilation, useful when hot air stagnates, when you cook, or when you sleep with several people.
The fan is relevant above the kitchen, near the bed, or in the center of the living space. It helps extract hot air and renew the air faster. It requires a 12V power supply and therefore a more prepared installation.
If your electrical installation is already planned, the fan is often a real comfort gain. If you want a simple installation without wiring, a manual model remains quicker to install.

To improve air extraction in a kitchen, sleeping area, or compact living space.

3. Transparent, smoked, or opaque dome: which to choose?
The choice of dome changes the interior atmosphere. A transparent dome brings in a lot of light and gives a sense of space. It is pleasant in temperate regions or outside of intense heat.
A smoked dome further limits glare and can be more comfortable in summer. An opaque or white dome diffuses light without creating direct sunlight entry. This choice depends less on style and more on the actual use of the vehicle.
For a van used year-round, a clear or slightly smoked dome is versatile. For a vehicle often in the sun, prioritize thermal comfort, blackout, and the fly screen.
4. What roof thickness should be checked before installation?
The cut-out size is not enough. You also need to check the roof thickness, including insulation. An insulated and lined panel van roof can be much thicker than bare metal. The inner frame, screws, and tightening system must be compatible with this thickness.
If the thickness does not match, it may be necessary to add an adapter frame or adjust the screws. The Skylight must be tightened properly, without deforming the roof or crushing the seal.
Before drilling, always position the product, check the location from the inside, then verify the outside. A dry fit prevents discovering too late that a reinforcement, rib, or roof accessory obstructs the installation.
5. What ventilation should be planned for a Campervan or panel van conversion?
A skylight contributes to the vehicle’s high ventilation. For a project aiming for VASP certification in France, ventilation requirements must be verified in the conversion dossier and with the relevant authorities, as they depend on the vehicle’s complete configuration.
In practice, think of ventilation as a system: low air intake, high air outlet, circulation between zones, and extraction if necessary. A skylight with permanent ventilation or a fan can help, but it does not replace a comprehensive layout plan.
If you have gas, a fixed kitchen, or a heater, check ventilation requirements from the design stage.
6. Which adhesive or sealant to use for a skylight?
Waterproofing is the key factor for a durable installation. The skylight must be installed on a clean, degreased, and prepared surface. Depending on the substrate and product used, a primer may be necessary. The sealant must remain suitable for outdoor installation, vibrations, and temperature variations.
Avoid improvised installations with sealant not intended for this use. A leak can damage the lining, insulation, and furniture. The right approach is to prepare the surface, respect application times, and check waterproofing after installation.

The useful kit to prepare a clean and durable installation.
7. How to avoid leaks after installation?
Most problems come from rushed preparation: poorly cleaned surface, uneven tightening, overly curved roof, uneven sealant application, or no inspection after drying. Take the time to mark cleanly, protect the cutting area, and treat metal edges if necessary.
After installation, perform a gradual water test rather than an immediate heavy spray. Inspect the interior, corners, and frame.
For a ribbed or slightly curved roof, do not force the skylight to fit a shape that deforms it. It is better to compensate the mounting surface than to create a permanent stress on the frame.
Our selection to get started
- For a standard choice: ROOF WINDOW 40X40 STYLE
- For active ventilation: VANLIFE Powered Roof Vent 40x40
- For more light: PANORAMA LED Skylight 50 x 70
- For installation: Sikaflex Pack for Skylights
https://www.vanlife-store.com/products/lanterneau-40-x-40-style
https://www.vanlife-store.com/products/lanterneau-ventilateur-vanlife-40x40
https://www.vanlife-store.com/products/lanterneau-camping-car-panorama-led-70-x-50
https://www.vanlife-store.com/products/pack-sikaflex-pour-lanterneaux
See all motorhome and campervan rooflights:
https://www.vanlife-store.com/collections/lanterneau-pour-camping-car-ventilateur-fourgon
FAQ
What is the standard size of a motorhome rooflight?
The most common size is 40x40 cm. It generally corresponds to the cutout or roof opening. There are also smaller sizes like 28x28, and brighter formats like 50x70 or 70x50 depending on the model.
How to measure a rooflight?
First measure the roof opening or the planned cutout location. Then check the external frame dimensions, the available space around the rooflight, and the total roof thickness including insulation and interior lining.
Should you choose a rooflight with a fan?
Yes, if you want to extract hot air, improve air renewal, or ventilate a kitchen or sleeping area. No, if you want a simple installation without electrical power. In that case, a manual rooflight may suffice.
Which adhesive should be used to install a rooflight?
Use a sealant or sealing kit suitable for rooflights, designed for exterior use and vehicle vibrations. The surface must be clean and prepared. Depending on the material, a primer may be necessary to ensure adhesion.
Is one rooflight enough for VASP approval?
Not necessarily. In France, a VASP project must be considered as a whole: high ventilation, low ventilation, safety, gas, electricity, and layout. The rooflight can contribute to high ventilation, but the vehicle’s full compliance must be verified.
Conclusion
The right motorhome rooflight is the one that matches your roof, your use, and your expected comfort level. For a simple replacement, the 40x40 is often the logical starting point. For a van that heats up quickly or a kitchen area, a fan provides real comfort. For a brighter living space, a panoramic size can transform the interior.
Before buying, always check the cutout, roof thickness, available space, and installation accessories. A well-chosen and properly installed rooflight provides light, ventilation, and remains watertight without requiring special attention.
Find the right rooflight for your conversion
Compare the 40x40 sizes, models with fans, and installation accessories.
See the rooflights →https://www.vanlife-store.com/collections/lanterneau-pour-camping-car-ventilateur-fourgon